2
Ultimate Guide to Video Editing Presets for Faster, High-Quality Edits
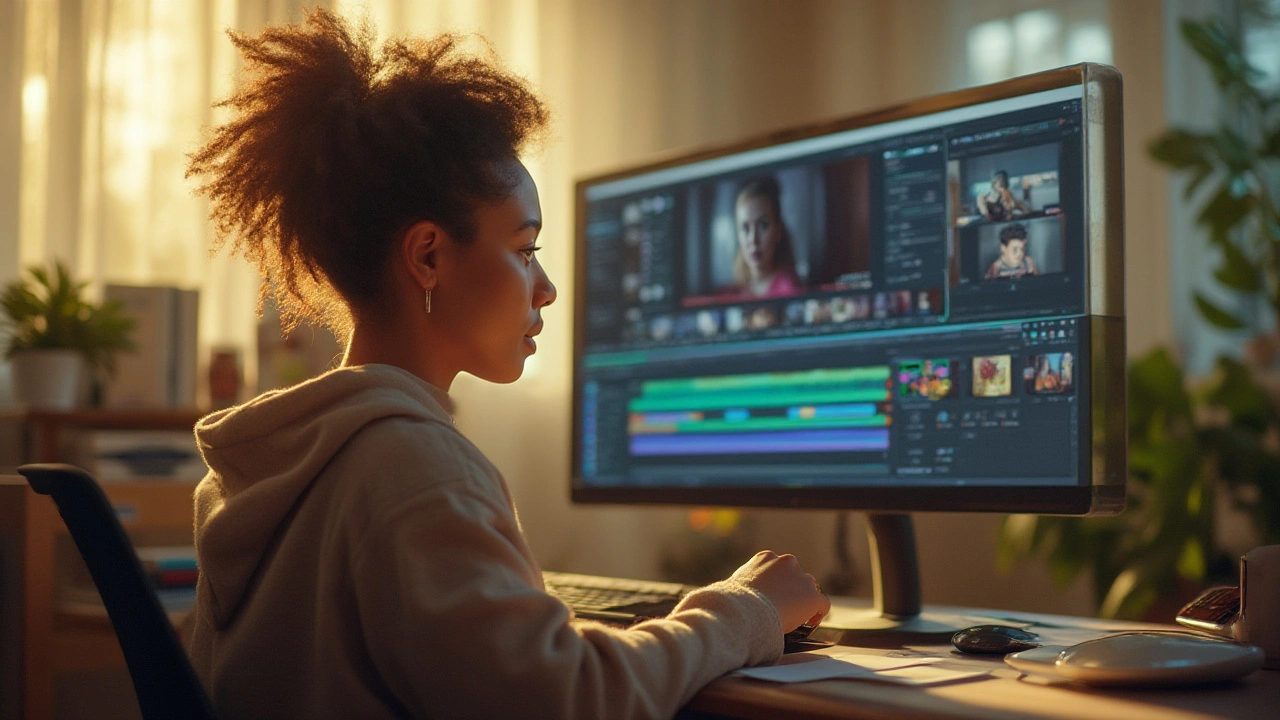
If speed and style are the name of the game, video editing presets are your secret weapon. You know that moment when you see a slick YouTube video, and every transition pops, colors look like something out of a movie, and you wonder how it all fits together so effortlessly? Chances are, the editor used presets to get there. Not only do presets save loads of editing time, but they also ensure your content always looks consistent and professional—no matter if you’re shooting from your bedroom or a busy city street. They’ve become a go-to tool for everyone from TikTok hobbyists to Hollywood’s biggest editors, and there’s a reason for that: using presets is the fastest way to move from rough cut to polished project without losing your mind over tiny details.
What Are Video Editing Presets and Why Should You Care?
Video editing presets are basically pre-made settings or templates you can drop right onto your footage. They cover everything from color grading, transitions, and effects to motion graphics and even audio tweaks. Top editing tools like Adobe Premiere Pro, Final Cut Pro, and DaVinci Resolve (plus most mobile editors) come stacked with built-in presets. But the real power shows up when you use custom packs—either ones you buy, score for free online, or create yourself.
So, what’s in it for you? Time is gold in video creation, and presets can shave hours or even days off a project. If you’ve ever tried to edit every transition by hand, you know that pain. Now, you just drag and drop a preset and, boom, instant style. They keep your branding tight too: if your channel has a specific look (think Netflix teal-and-orange or those moody, desaturated documentary vibes), saving your own preset means you’ll always nail that look with one click instead of hunting down settings in every video.
Think about this—over 500 hours of video are uploaded every single minute to YouTube alone. Using presets isn’t just about speed; it’s how editors keep from drowning in the flood. Teams working on series or branded ads rely on presets so every episode or commercial matches the last. The rise of TikTok and Insta Reels means everyone wants to move fast. If you want your videos to stand out, look pro, and stay on schedule, you just can’t ignore presets.
It’s not just the top-tier tools either. Mobile editors like CapCut, LumaFusion, and VN have made presets a standard feature. TikTok creators use them for snappy text effects and filters. Even desktop newbies working with iMovie get more control now, thanks to preset packs you can drag in.
Here’s something cool: A creator named Chris Hau did a line-by-line breakdown of his workflow using only presets versus manual editing—editing a vlog went from 3 hours to 38 minutes with the right preset pack. Not only that, but he found the quality actually went up because he wasn’t getting bogged down and losing creative energy. Numbers like that explain why presets aren’t just a “nice-to-have” anymore—they’re a must. Ready to get a handle on how to use them and, better yet, create your own?
How Presets Supercharge Your Workflow
If you ever felt like editing is too time-consuming, presets are about to become your best friend. In fact, editors report up to a 70% faster workflow after adopting a solid set of presets. Cutting out the need to repeat the same basic steps frees your brain for the fun stuff—storytelling, experimenting, even trying out wild effects you wouldn’t have risked if you were on a deadline crunch. Presets change everything for anyone editing at scale—think vloggers doing daily videos, marketing teams churning out product reels, or agencies with a dozen campaigns dropping each week.
The real kicker? They don’t just save time; they make your edits sharper. For example, let’s say you’re color grading. Doing it by hand every time can be a nightmare. A “cinematic teal and orange” preset will instantly give you that blockbuster style. Got dozens of similar clips? It’s just one click for all of them. Saving audio EQ presets means your voiceovers always sound crisp, even if you record them on different days. Motion graphics are another beast—presets let you drag in animated titles, lower thirds, or callouts without touching keyframes.
Ever tried batch-processing hundreds of short clips for TikTok or Instagram because some new trend dropped? With presets, you can line up all your edits, apply the same filters, effects, or transitions together, and post faster than your competition. That edge isn’t theory, either—firms like BuzzFeed and Vice openly credit their preset libraries for helping their editors keep pace with breaking stories.
Now, a quick tip: Don’t just stick to the default presets in your software. Pick up packs from trusted creators (look for reviews!) or make your own after you dial in that perfect look. And yes, building your own presets pays off big time. Let’s say you’ve adjusted your colors and added a bit of blur to the edges for a dreamy vibe. Instead of writing down settings, just click “Save Preset.” Next time you want that atmosphere, it’s ready in a second.
Let’s check out how some pro editors use presets. Peter McKinnon, for example, drops his signature LUT pack into every travel video for instant color unity. Marquee brands like Red Bull and GoPro employ full preset toolkits for branded transitions and effects—so their videos always look and feel the same, no matter which team is editing. If you’re editing for social media, platforms like Instagram actually let you stack filter presets to keep all your content coordinated.
But presets aren’t just about speed. They’re lifesavers when clients ask for changes. If someone hates your chosen look, switch presets and show options instantly. Did a client want that “retro VHS” style that’s hot now? Just grab a pack—or use your saved preset if you made one from scratch—and keep rolling.
Here are a few numbers to back this up:
| Editor Type | Manual Edit Time (avg.) | Using Presets (avg.) |
|---|---|---|
| Daily Vlogger | 4 hrs/clip | 1 hr/clip |
| Brand Campaign | 3 days/spot | 1 day/spot |
| TikTok Creator (30 videos) | 12 hrs | 3.5 hrs |
And those are just averages. Some people save even more time, especially with repetitive edits like podcast videos, tutorials, or interviews.
Want to maximize your workflow? Organize your presets so you can find them fast. Make folders for “Transitions,” “Color Grades,” “Audio Essentials,” and label them clearly. When you’re working fast, the last thing you want is to scroll through endless lists for the preset you need.
- Start with the best-reviewed packs for your editing platform.
- Test each preset on new projects before relying on it for important client work.
- Tweak presets as you go—customized is always better than generic.
- Back up your presets so you never lose them to a crash or update.
The bottom line: mastering presets is how today’s editors crank out video after video without burning out. Get the right ones in your toolkit, and you’ll stand out from the crowd.

Building and Using Presets Like a Pro
Jumping into video editing presets isn’t just about downloading the fanciest pack you can find—it’s about learning how to make them truly work for you. Almost every platform worth its salt lets you create, save, and organize custom presets. Start with a simple project, get your look and effects just how you want, and then hit “Save Preset.” Save it with a name that actually makes sense (nobody wants to see “Preset_45_final_REALLYfinal_v3”). Good naming is a lifesaver later when you’re juggling a dozen projects.
Some editors get super granular: they’ll have one preset for punchy color corrections, another for moody titles, and a third just for exporting podcasts with the right audio bump. Whether you do that or just work with a solid handful really depends on your needs. Just don’t overwhelm yourself starting out.
Thinking of selling or sharing your presets? Platforms like Gumroad and Sellfy have made it dead simple for video pros to share their personal packs. Tap into these communities for inspiration or some genuinely useful free tools. There are entire subreddits and Discords just for trading unique looks. Check out top-rated packs from names like CinePacks, Tropic Colour, and MotionVFX if you’re looking to inject some Hollywood polish or experimental punch into your workflow—including stuff like glitch, VHS, film grain, or super-smooth logo animations. But always check compatibility, especially with color grading LUTs (some work better in Premiere, others are DaVinci-only, for example).
One killer move is to regularly update your preset library. Video trends evolve fast—think of those vertical video transitions or the parallax effects that blew up in 2024 and are still everywhere. Saving new styles means you’ll always stay current, and you can even build a “client lookbook,” ready to whip out at a moment’s notice. Even agencies now often maintain master preset libraries on shared cloud drives, so teams all over the world can edit video with total consistency.
Here’s a pro tip: Customize every preset you use. Most preset packs are made for mass appeal, so dial in the settings that match your brand or content’s mood. Hit “Save As” when you tweak them and keep a running master list.
Watch out for bloat. Download too many random presets, and your editing software can get slow (or just overwhelming). Stick to what you use regularly, and every month or two, delete what you aren’t using. Most editors agree that a tight, curated library beats a bloated one any day.
What if you’re just starting out? You don’t need to spend big. Begin with the built-in video editing presets and free packs. As your style grows, invest in higher-end ones or build your own. Remember, presets don’t stifle creativity—they actually free you up for the experimental, wild shots that will become your signature. And when you’ve crafted something magical, pay it forward by sharing your favorite looks or supporting smaller creators making new packs.
Ready to try it? Fire up your favorite editor, play with built-in presets, or search for a style pack. Apply it, see how much easier (and fun) the edit feels, and save precious minutes (or hours) for the next brilliant idea.

Bob Buthune
July 17, 2025 AT 23:02Wow, this guide really hits the nail on the head when it comes to speeding up the editing process! 😄 I mean, spending hours tweaking each clip manually is such a drain, and presets really help with that. Plus, they keep the quality consistent which is a huge win in my book. One thing I love about presets is how they can inspire creativity too — sometimes you’ll discover cool looks you wouldn’t have thought of otherwise.
That said, I think the key to really nailing presets is knowing when to customize them just enough to fit your unique style. Anyone else here super into making small tweaks after applying a preset? I'm always fascinated by how a tiny color shift or a bit of extra contrast can totally change the vibe.
Kayla Ellsworth
July 21, 2025 AT 23:09So, here we go again, another "ultimate" guide promising magic with presets… 🙄 Let's be honest, presets are just fancy filters slapped on videos to give you an illusion of skill and speed. Sure, they save time, but they kill originality if you're not careful.
It’s like using a paint-by-numbers kit and calling yourself an artist. Real creativity comes from understanding what each adjustment does, not just clicking a few buttons to get a ‘pro’ look. And don’t even get me started on how oversaturated the preset market is—everyone is just recycling the same old looks.
So, while yes, presets can be useful for beginners, the article seems a bit too optimistic about them. Anyone else feel like presets are just shortcuts that sometimes create more problems than they solve?
Soham Dhruv
July 26, 2025 AT 04:49Hey folks, this guide is pretty solid for anyone looking to get into presets without feeling overwhelmed. I always tell new editors to start with presets just to get a feel of what kind of adjustments go into making a video look polished.
One thing I’ve noticed is that presets aren't the end but a stepping stone - you get comfortable using them, and then you start creating your own sets tailored to your style. It's a cool way to mix learning with workflow efficiency.
Also, I’m curious, how do you all back up your presets or shift them between programs? I had some trouble moving mine from Premiere to After Effects last time, which got kinda frustrating.
Noel Dhiraj
July 30, 2025 AT 10:29This is a great topic, especially for newcomers! Presets can definitely speed up your editing workflow and sometimes add that bit of polish that’s hard to produce manually when you’re still learning the ropes.
However, I'd like to remind everyone that presets should be used wisely. You must understand the basics of color grading and effects so the presets become a tool rather than a crutch. Always analyze what each effect does to improve your skills.
Also, anyone here using presets on mobile apps? Would love to hear good recommendations on that front for quick edits on the go!
vidhi patel
August 3, 2025 AT 16:09While I appreciate the intent behind using presets, I must insist that understanding the grammar of video editing transformations is indispensable. Slapping presets without a firm grasp of fundamental principles leads to substandard results and ultimately harms the craft.
For instance, misapplication of contrast or saturation presets without suitable adjustment can distort the visual narrative and misrepresent the scene’s intent. Such misuse betrays the essence of professional editing.
I advise aspiring editors to invest time thoroughly mastering color theory, light balancing, and frame composition rather than relying solely on prepackaged settings.
Priti Yadav
August 7, 2025 AT 21:49I’m not sure anyone’s really considering how these presets might be tracking usage or what kind of user data these software companies collect when you download them. There’s obviously some kind of big data mining going on under the hood. 😒
Plus these so-called “easy-to-use tools” sometimes end up limiting creativity instead of boosting it. I bet most presets are designed to push standard looks, preferences, and trends that keep everyone’s videos looking the same.
Anyone else wonder if this is all just a way to make us dependent on software ecosystems and limit our original expression?
Ajit Kumar
August 12, 2025 AT 03:29It is important to understand the ethical use of presets in video editing. Presets should supplement an editor's skill set, not replace it. It is a moral responsibility to maintain the authenticity of the content rather than relying excessively on generic tools.
Moreover, the overreliance on presets can obfuscate the true intent of the visual story, which compromises the artistic integrity of the medium itself. Editors should strive to master their craft thoroughly before employing shortcuts.
This guide is helpful, but it must be accompanied by a disciplined educational approach to video editing techniques.
Diwakar Pandey
August 16, 2025 AT 09:09Thanks for sharing this guide! From experience, presets can be a great base to learn from, especially when you want to observe what settings create certain effects. Sometimes the best learning happens by reverse-engineering a preset you like.
Still, it’s good to keep in mind that presets must be fine-tuned for different footage because no two videos have the exact same lighting or tone. Just applying a one-size-fits-all preset might ruin a perfectly good clip if you're not careful.
Also, folks, just a subtle reminder to keep backup copies of your original footage before experimenting with presets, that’s something I learned the hard way.
Geet Ramchandani
August 16, 2025 AT 20:49Honestly, these preset guides always make me laugh a little because they tend to glorify something so lazy. Long-winded promises of ‘saving hours’ are code for ‘ditch the actual talent.’
If you need presets to get a decent edit quickly, maybe stop pretending you’re a content creator and just stick to shooting. Editing is supposed to be hard and time-consuming because that’s how art grows.
Anyone else tired of the same recycled articles claiming you don’t really have to learn anything anymore? It’s shortcut culture and it’s frankly toxic.
Pooja Kalra
August 16, 2025 AT 23:02This post merely scratches the surface. The philosophy behind presets barely accounts for the deeper understanding required to truly seize control of one's artwork. One must embrace both the constraints and freedoms inherent in manually crafting a video instead of relying wholly on automated solutions.
True mastery comes from engaging critically with each frame’s narrative potential, not simply layering predefined formulas. Engage with your medium, question your choices, and do not fall prey to the facile satisfaction presets provide.
Has anyone here experimented with creating their own presets from scratch? I believe this act combines creativity and control in a profound way.