28
Green Screen Live Streaming: How to Get Clean Keys with OBS and Plugins

There is nothing worse than watching a live stream where the host looks like they are floating in a digital void, or worse, their hair has jagged, glowing green edges. It breaks immersion instantly. Viewers don't care how much your camera costs; if the background removal looks cheap, they click away. Getting that "clean key"-where the subject blends seamlessly into the virtual set-is the difference between looking like an amateur and looking like a professional broadcaster.
You do not need a Hollywood studio budget to fix this. You just need to understand light, settings, and the right tools. Most streamers rely on the default OBS Studio free and open-source software for video recording and live streaming, but the built-in filter often leaves you fighting noise and artifacts. By combining proper lighting techniques with specific plugins, you can achieve broadcast-quality results on a standard webcam or DSLR.
The Foundation: Lighting Is Everything
Before you touch a single slider in software, you have to look at your room. Software cannot fix bad lighting. If your green screen is wrinkled or unevenly lit, no plugin will save you. The goal is to make the green background as uniform as possible while keeping your subject well-lit and separate from that background.
Start by pulling yourself away from the green screen. Aim for at least three to five feet of distance. This prevents "green spill"-that annoying green glow that reflects off the backdrop onto your shoulders and face. If you are too close, the software gets confused about what is part of you and what is part of the background, leading to flickering edges.
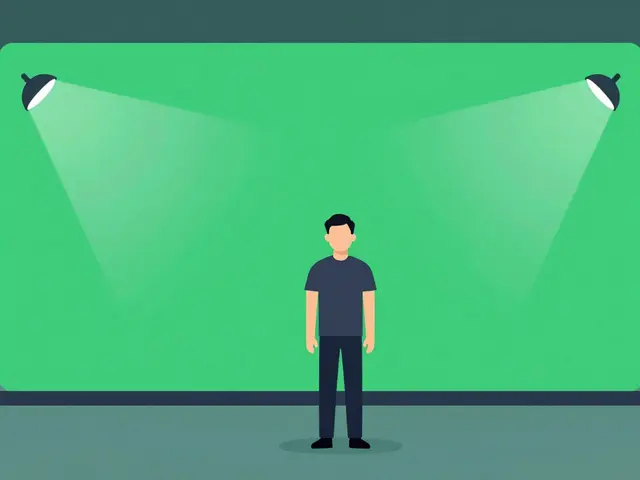
Next, light the background separately from yourself. Use two lights aimed directly at the green cloth or wall. They should be positioned at 45-degree angles to avoid casting shadows from your body onto the screen. The brightness should be even across the entire surface. A quick test? Look at your monitor. If you see wrinkles or dark spots on the green, move the lights until it looks like a flat, solid color.
Now, light yourself. Use a key light (your main light) facing you, and ideally a fill light on the opposite side to soften shadows. Avoid using the same lights for both you and the background. When the background is brighter than the subject, the chroma key algorithm works much faster and cleaner because there is higher contrast between the green pixels and your skin tones.
Mastering the Default Chroma Key Filter
If you are starting out, stick with the built-in tool first. It is surprisingly powerful if you know which knobs to turn. In OBS Studio, right-click your video source, go to Filters, and add the "Color Key" effect. Do not confuse this with "Chroma Key"; the Color Key filter is generally more precise for modern cameras.
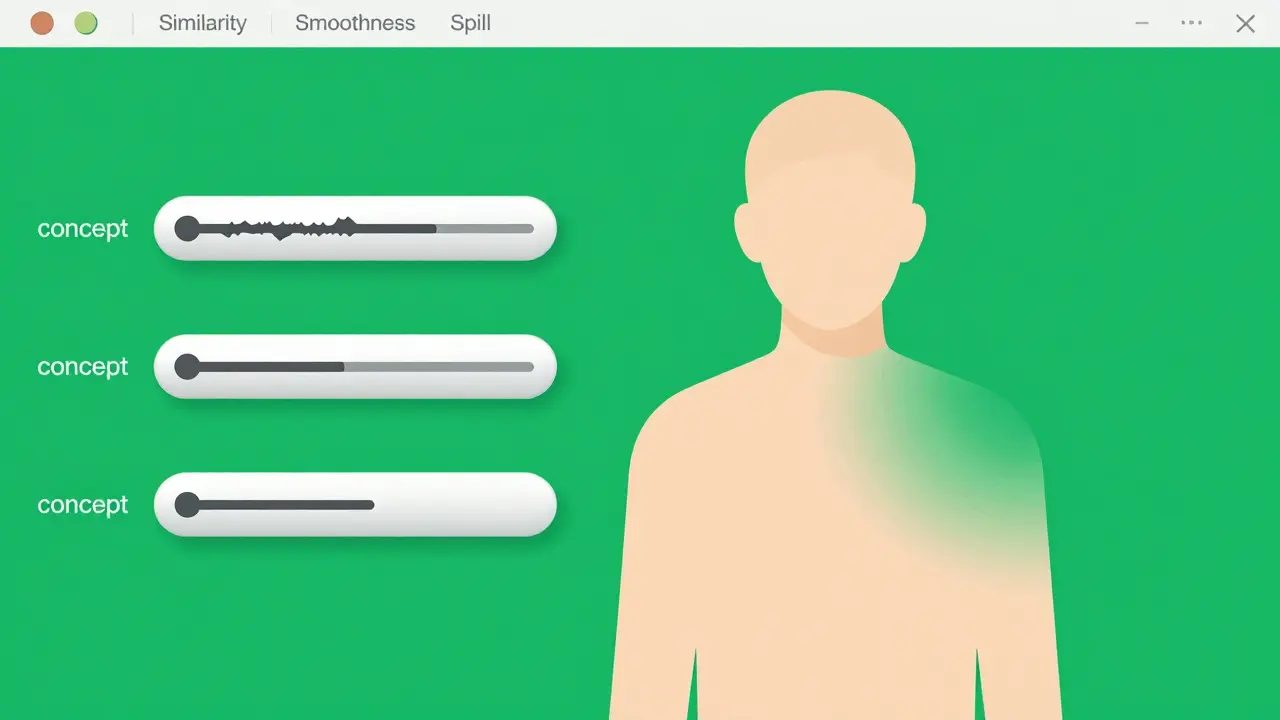
The most important setting here is the "Similarity" slider. Start with it at zero and slowly drag it up until the green disappears. Stop the moment the green is gone. If you go too high, you start eating into your subject's details, making semi-transparent areas like thin hair or lace clothing disappear entirely.
Once the green is removed, you will likely notice rough edges. This is where the "Smoothness" slider comes in. Crank it up slightly to blur the transition line. Think of it as softening the cutout so it doesn't look like a sticker pasted onto a background. However, be careful. Too much smoothness makes your image look muddy and low-resolution.
Finally, adjust the "Spill Suppression." This removes the green tint reflecting on your clothes or skin. Slide it up until the green cast is gone, but stop before your skin tone looks gray or unnatural. If you find yourself struggling with these sliders constantly, it usually means your lighting setup needs adjustment, not your software settings.
When Built-In Tools Aren't Enough: Essential Plugins
Sometimes, the default filters just can't handle complex scenes, fast movement, or lower-quality webcams. This is where third-party plugins shine. These tools use advanced algorithms to analyze pixel data more intelligently than the basic filters.
| Plugin Name | Best For | Key Feature | Learning Curve |
|---|---|---|---|
| Background Removal Plugin AI-powered background removal tool for OBS | Webcam users without green screens | Uses deep learning to isolate subjects | Low |
| Lutify Advanced color grading and keying plugin | DSLR/Mirrorless camera users | Professional-grade matte refinement | High |
| NVIDIA Broadcast AI audio and video enhancement suite | RTX GPU owners | Real-time AI background replacement | Very Low |
The Background Removal Plugin is a game-changer for those who don't have perfect lighting. It uses artificial intelligence to detect the human figure rather than relying solely on color matching. This means it handles hair strands and moving objects much better than traditional methods. However, it requires a decent CPU to run smoothly without lagging your stream.
For users with higher-end cameras, Lutify offers granular control over the alpha channel. It allows you to feather edges, suppress spill, and refine the matte with precision that rivals post-production software like Adobe After Effects. It is more complex to set up, but if you are broadcasting a professional interview or a news segment, this level of detail matters.
If you own an NVIDIA RTX graphics card, you already have access to NVIDIA Broadcast. While primarily known for noise cancellation, its background replacement feature is incredibly robust. You can use it to create a virtual camera feed in OBS that already has the background removed, bypassing OBS's internal filters entirely. This offloads the processing to your GPU, freeing up your CPU for other streaming tasks.
Troubleshooting Common Keying Issues
Even with the best plugins, you might run into issues. Here is how to fix the most common problems that plague live streams.
Flickering Edges: If your outline is jittering or disappearing and reappearing, your lighting is likely inconsistent. Check for shadows moving across the green screen. Also, try lowering the "Tolerance" or raising the "Smoothness" slightly. Sometimes, increasing the bitrate of your capture card can also help, as compression artifacts can confuse the keying algorithm.
Green Spill on Face: If your face looks sickly green, increase the "Spill Suppression" value. If that doesn't work, you are physically too close to the background. Move back. Another trick is to wear colors that contrast sharply with green, like blue or red, to reduce reflection.
Transparency Holes: If parts of your body are disappearing, you are likely wearing something similar in hue to the green screen, or the lighting on that part of your body is too dim. Ensure your entire body is evenly lit. Avoid wearing bright green or yellow clothing.

Optimizing Performance for Smooth Streaming
Advanced keying and AI plugins are resource-intensive. If your stream starts dropping frames or stuttering, you need to optimize your setup. First, ensure you are running the latest version of OBS and your graphics drivers. Outdated drivers are a common cause of performance bottlenecks.
Second, consider your encoding settings. If you are using x264 for encoding, it puts heavy load on your CPU. Switching to NVENC (for NVIDIA cards) or AMF (for AMD cards) offloads this work to your GPU, leaving more power for the chroma key processing. Aim for a constant bitrate (CBR) that matches your internet upload speed, typically between 4000 and 6000 Kbps for 1080p streaming.
Finally, test your setup. Run a local recording in OBS for ten minutes while moving around, turning, and gesturing. Watch it back. You will spot issues that are hard to see in real-time. Adjust your filters based on this footage, not just the live preview.
Conclusion: Quality Over Complexity
Achieving clean keys in live streaming is less about expensive gear and more about attention to detail. Start with solid lighting, master the basic OBS filters, and only reach for plugins when you hit a wall. Remember, your audience wants to connect with you, not stare at a technical glitch. By taking the time to refine your background removal, you build trust and professionalism that keeps viewers engaged long-term.
Do I need a green screen for good background removal?
Not necessarily. AI-powered plugins like the Background Removal Plugin or NVIDIA Broadcast can remove backgrounds without a green screen. However, a physical green screen still provides the cleanest, most reliable results, especially in varying lighting conditions or with complex movements.
Why does my green screen look grainy in OBS?
Graininess usually comes from low light levels. When your camera sensor struggles in the dark, it introduces noise. Increase the lighting on your green screen and ensure your camera's ISO is kept as low as possible to reduce digital noise.
Can I use a blue screen instead of green?
Yes. Blue screens are often better for people with green eyes or if you are wearing green clothing. The principles remain the same: light it evenly, stay away from it, and adjust your color key filter to target blue instead of green.
How do I fix flickering edges on my hair?
Flickering hair is often caused by motion blur or insufficient lighting. Try slowing down your movements slightly, increase the smoothness slider in OBS, or use an AI-based plugin that is better at detecting fine details like hair strands.
Does OBS slow down my computer?
OBS itself is lightweight, but adding multiple filters and plugins can increase CPU/GPU usage. To prevent slowdowns, use hardware encoders (NVENC/AMF), close unnecessary background applications, and limit the number of active sources in your scene.