5
Cable Management for Streaming Setups: Clean and Safe Wiring Tips
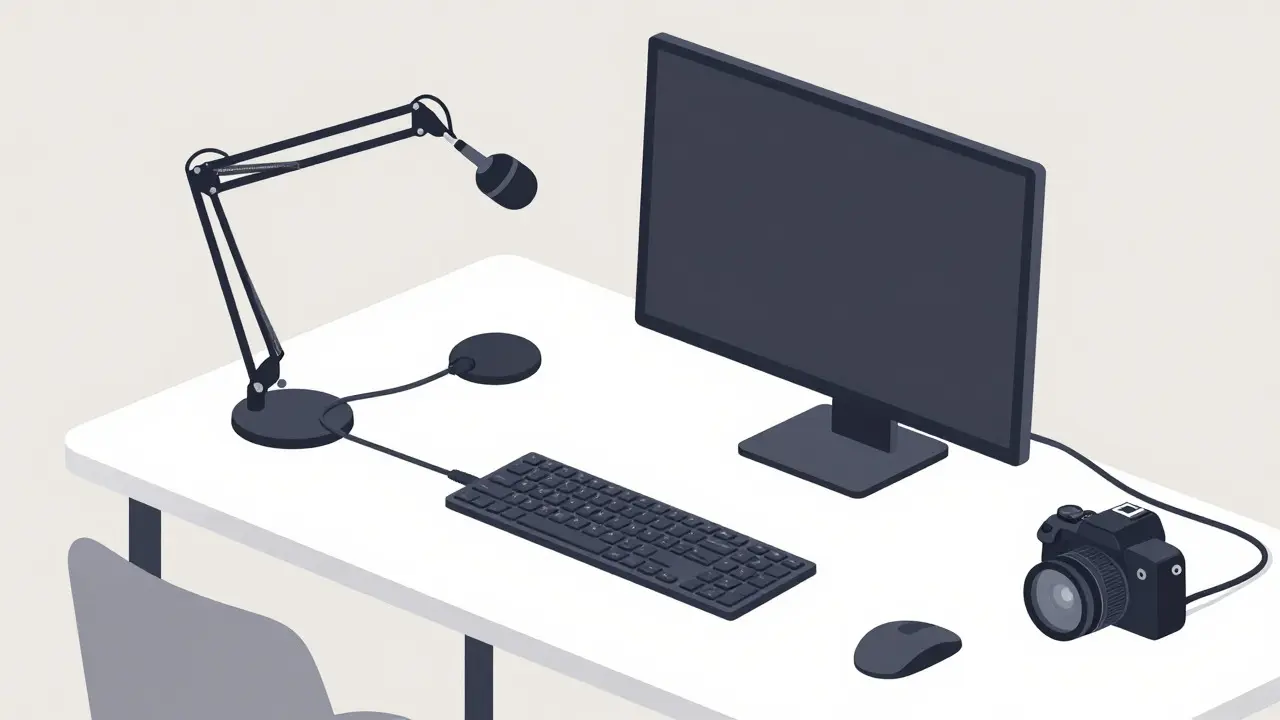
There is nothing quite as satisfying as hitting "Go Live" with a pristine, professional-looking background. But there is nothing quite as frustrating as realizing your audience can see a tangled nest of HDMI cords, power bricks, and USB cables hanging off the side of your desk. Worse yet, that loose cable might be pulling on your capture card or creating a tripping hazard in your home studio.
Cable management isn't just about aesthetics; it's about safety, airflow, and equipment longevity. A messy setup traps heat, increases the risk of accidental disconnections during a stream, and can even lead to fire hazards if wires are pinched or overloaded. Whether you are running a simple webcam setup or a multi-camera production rig with an Elgato Stream Deck and multiple monitors, getting your wiring under control is a critical step.
The Foundation: Planning Your Cable Route
Before you buy a single zip tie, you need to map out where every device lives. Most streamers make the mistake of plugging things in first and worrying about the mess later. This leads to short cables that don't reach and long cables that create excess slack.
Start by identifying your power source, which is typically a wall outlet or a surge protector located near your desk. From there, trace the path of each cable to its destination: your PC tower, monitor, microphone arm, lighting kit, and camera. Measure these distances. If you find yourself using extension cords to bridge gaps, consider moving your furniture or relocating your power strip closer to the work zone.
Group cables by function. Keep all video signals (HDMI, DisplayPort) together, separate from power cables, and distinct from data cables (USB, Ethernet). This separation minimizes electromagnetic interference, which can cause audio hums or video artifacts. When planning your route, always leave a little extra length-about 10-15% more than the exact distance-to allow for future adjustments without needing to re-run wires through walls or under heavy desks.
Essential Tools for Taming the Chaos
You don't need a professional electrician's toolkit to manage your cables, but a few specific tools will save you hours of frustration. Here is what should be in your starter kit:
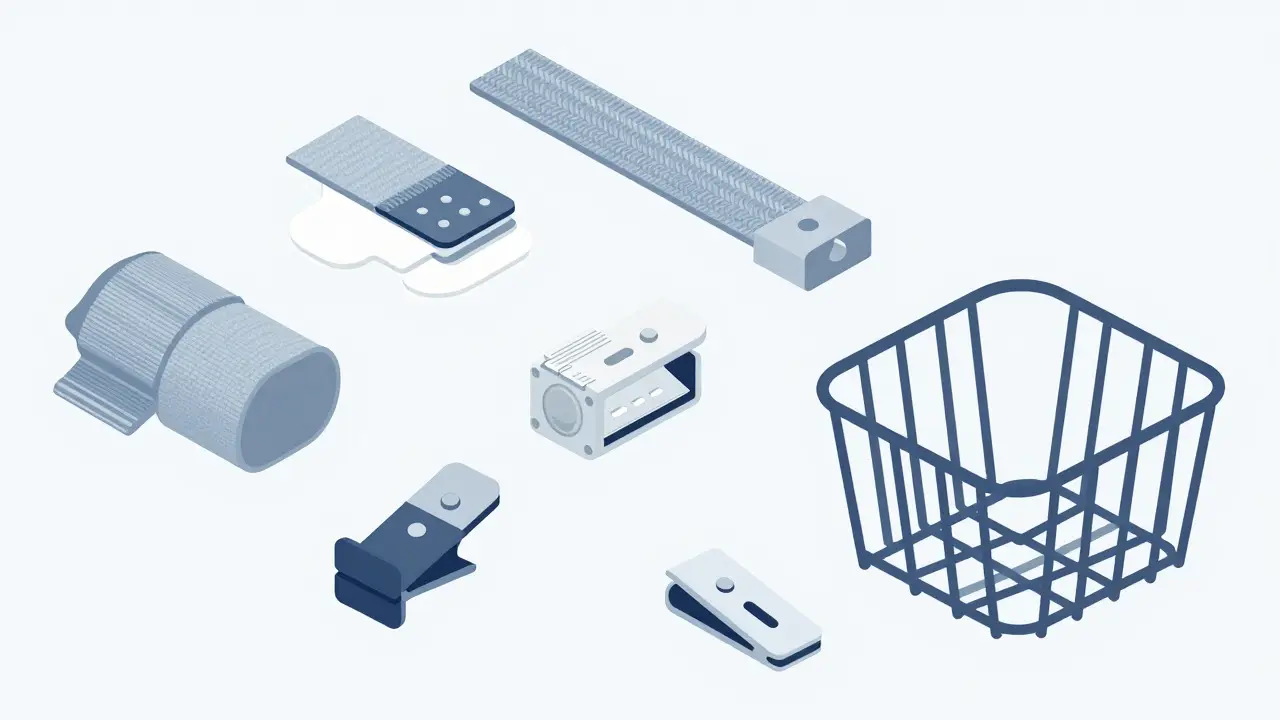
- Velcro Straps: Unlike plastic zip ties, Velcro straps are reusable and adjustable. They are perfect for bundling cables that you might need to swap out later, like upgrading your graphics card or changing your microphone.
- Cable Sleeves: These braided nylon tubes bundle multiple cables into a single, neat line. They look professional and protect individual wires from abrasion. Look for split-sleeve designs that allow you to add or remove cables without unraveling the entire bundle.
- Adhesive Cable Clips: Small, sticky clips help guide cables along the edge of your desk or behind your monitor stand. They keep wires from sliding onto the floor where they can get kicked or chewed by pets.
- Under-Desk Cable Trays: Mounting a wire basket underneath your desk hides power strips, hubs, and excess cable length from view. It also keeps them accessible for troubleshooting.
Avoid cheap, thin plastic zip ties for permanent installations. They often snap when you try to remove them, damaging the cable insulation, and they can cut into the rubber coating of your wires over time due to excessive tightness.
Securing Cables Safely Without Damage
The biggest mistake people make is overtightening their bundles. Cables have a minimum bend radius-the smallest curve they can handle without internal damage. For standard HDMI and USB cables, this is usually around 1 to 2 inches. Bending them sharply can break the copper traces inside, leading to intermittent signal loss or complete failure.
When using Velcro straps, wrap them snugly but not tightly. You should be able to slide a finger between the strap and the cable bundle. If you are routing cables under carpet or rugs, use flat, flexible raceways instead of bulky trays. These low-profile channels adhere to the floor and provide a smooth surface for cables to run through, reducing tripping risks while keeping the wires protected from vacuum cleaners and foot traffic.
Pay special attention to connector points. The strain relief area at the end of a cable is vulnerable. Never let a cable hang freely from a port. Use adhesive hooks or small clips to support the weight of the cable just after the connector enters the device. This prevents the pins inside the port from loosening over time, which is a common cause of "no signal" errors in streaming setups.
Managing Power and Surge Protection
Your streaming gear is sensitive electronics. A single power spike can fry your motherboard, capture card, or expensive microphone interface. Proper power management is non-negotiable.
Invest in a high-quality surge protector with a joule rating of at least 1000J. Place it in an accessible location, ideally mounted under the desk or on a shelf nearby. Avoid Daisy-chaining power strips (plugging one strip into another), as this creates a fire hazard and defeats the purpose of surge protection.
If you have many devices, consider a power distribution unit (PDU) or a smart power strip. Smart strips allow you to turn off peripheral devices like lights and webcams via an app when you go offline, saving energy and extending bulb life. Group your high-draw devices (PC, GPU, monitors) on separate outlets from lower-draw peripherals (LED strips, fans) to balance the load.
| Feature | Basic Power Strip | Surge Protector | Smart Power Strip |
|---|---|---|---|
| Protection Level | None | High (1000J+) | Medium-High |
| Control | Manual Switch | Manual Switch | App/Voice Control |
| Best For | Lamps/Fans | PC/Monitors | Streaming Peripherals |
| Cost Range | $10-$20 | $20-$40 | $30-$60 |
Airflow and Heat Dissipation
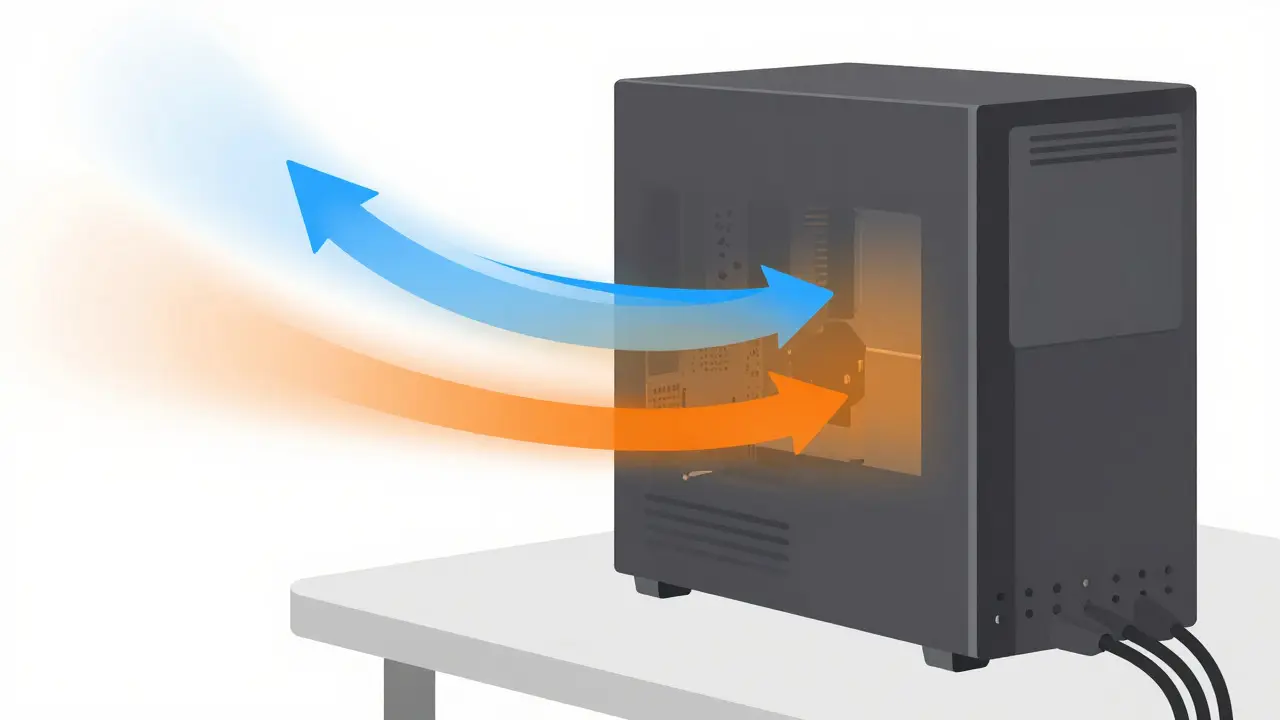
A cluttered cable mess acts like a blanket, trapping heat around your components. GPUs and CPUs generate significant warmth during encoding tasks. If your rear exhaust fans are blocked by a wall of cables, your temperatures will rise, potentially causing thermal throttling and dropped frames during live streams.
Ensure there is at least 2-3 inches of clearance between your PC case and any surrounding cables or walls. Use vertical cable managers attached to the back of your desk to route cables upwards rather than letting them drape down towards the floor or pile up behind the computer. This keeps the air intake and exhaust paths clear.
For desktop setups, consider using right-angle connectors for PCIe cards and graphics cards. These connectors turn the plug 90 degrees, allowing the cable to run parallel to the component rather than sticking straight out and obstructing airflow. It’s a small change that makes a huge difference in compact builds.
Maintaining Your Setup Over Time
Cable management is not a one-time task. As you upgrade gear, add new microphones, or switch cameras, your wiring needs will change. Adopt a habit of reviewing your setup every six months.
Label your cables. It sounds tedious, but using colored tape or a label maker to mark both ends of every cable saves hours of confusion when you need to troubleshoot a connection issue. Write the source and destination clearly (e.g., "GPU -> Monitor 1").
Inspect cables for wear and tear regularly. Look for fraying insulation, exposed wires, or stiff connectors. Replace damaged cables immediately to prevent short circuits. Keep a small stash of spare cables in common lengths so you don't have to rush to the store when something breaks mid-stream.
Should I use zip ties or Velcro straps for my streaming cables?
Velcro straps are generally better for streaming setups. They are reusable, adjustable, and less likely to damage cable insulation if tightened slightly too much. Zip ties are permanent and can be difficult to remove without cutting the cable, making them poor choices for gear you might upgrade or rearrange frequently.
How do I hide cables behind a floating desk?
For floating desks, use adhesive cable clips to secure wires to the underside of the desk surface. Run them vertically down to a wall-mounted power box or a floor-standing cable cover. Avoid using heavy trays that require drilling into the desk structure, as this can compromise the mounting hardware.
Can too many cables cause interference with my audio?
Yes, running audio cables parallel to power cables can induce electromagnetic interference, resulting in a humming noise. Keep audio and power cables separated by at least a few inches, or cross them at a 90-degree angle if they must intersect. Using shielded cables also helps mitigate this issue.
What is the best way to manage HDMI cables for multiple monitors?
Bundle all HDMI cables together using a split cable sleeve. This keeps them organized and protects them from bending too sharply. Ensure the bundle is not too tight, allowing each cable to maintain its natural curve. Label each end to easily identify which monitor connects to which port on your GPU.
Is it safe to run cables under my rug?
It is safer than leaving them exposed, but only if you use a flat, flexible raceway designed for this purpose. Direct contact with carpet fibers can trap heat and cause wear. Raceways provide a smooth, protective channel that reduces friction and tripping hazards while keeping the cables hidden.