Editing Workflow: Streamlined Steps for Faster Video Production
When mastering editing workflow, the series of tasks that take raw footage to a polished video, you quickly realize it’s more than a checklist. It’s a living process that shapes quality, speed, and cost. In today’s market, a solid workflow requires the right video editing tools, software like Premiere Pro, DaVinci Resolve or mobile apps that handle multi‑track timelines, smart editing presets, pre‑built effect stacks or color grades that can be applied with one click, and a clear plan for short‑form video editing, quick‑turnaround cuts for platforms like TikTok or Reels. Those four pillars form the backbone of any modern production line.
First, pick a tool that matches your project’s complexity. High‑end desktop suites give you granular control over frames, while cloud‑based editors speed up collaboration. Once the software is set, load your editing presets—they automate color correction, stabilization, and transition styles, cutting hours from the fine‑cut stage. Next, think about the final platform. Short‑form editing demands tight timelines, rapid cuts, and vertical aspect ratios; a workflow that separates a TikTok‑specific branch from a long‑form branch keeps everything organized. Finally, layer in video editing effects like motion graphics or keyframe animations only where they add value; over‑using effects bogs down render times and distracts viewers.
Key Components of a Modern Editing Workflow
The workflow begins with pre‑production planning. Storyboards, shot lists, and asset folders act as a roadmap, preventing “where’s that clip?” moments later. During rough cut, you drop all takes into the timeline, ignoring polish and focusing on story flow. This is where your chosen video editing tools editing software shine—drag‑and‑drop interfaces let you reorder scenes in seconds. After the story locks, apply editing presets to lock color and audio levels, then move to the fine cut where you tweak transitions, adjust pacing, and add motion graphics.
With the edit locked, color grading and audio mastering give the piece its final polish. If you’re delivering to multiple platforms, set up render presets that output the correct resolution, bitrate, and aspect ratio for each outlet. For short‑form pieces, you may export a vertical 1080×1920 file directly from the timeline, while long‑form videos get a widescreen 4K master. The last step—distribution—often involves uploading to streaming services, embedding on websites, or scheduling social posts. Each of these steps can be automated with the right toolchain, turning a manual hours‑long task into a click.
When you map these stages together, you see how the editing workflow encompasses tool selection, preset application, and platform‑specific cuts. It requires a clear plan, and the choice of tools directly influences speed and quality. Moreover, the use of presets reduces repetitive work, while short‑form editing adds a layer of agility for social content. This interlocking system means that improving one part—like switching to a faster rendering engine—boosts the entire pipeline.
Below you’ll find a curated set of articles that dive deeper into each of these areas: from comparing Canva and Premiere Pro, to realistic timelines for TikTok edits, to pricing models for professional editors. Use them as a toolbox to tighten your own workflow, pick the right software, and get the most out of presets and effects. Happy editing!
7
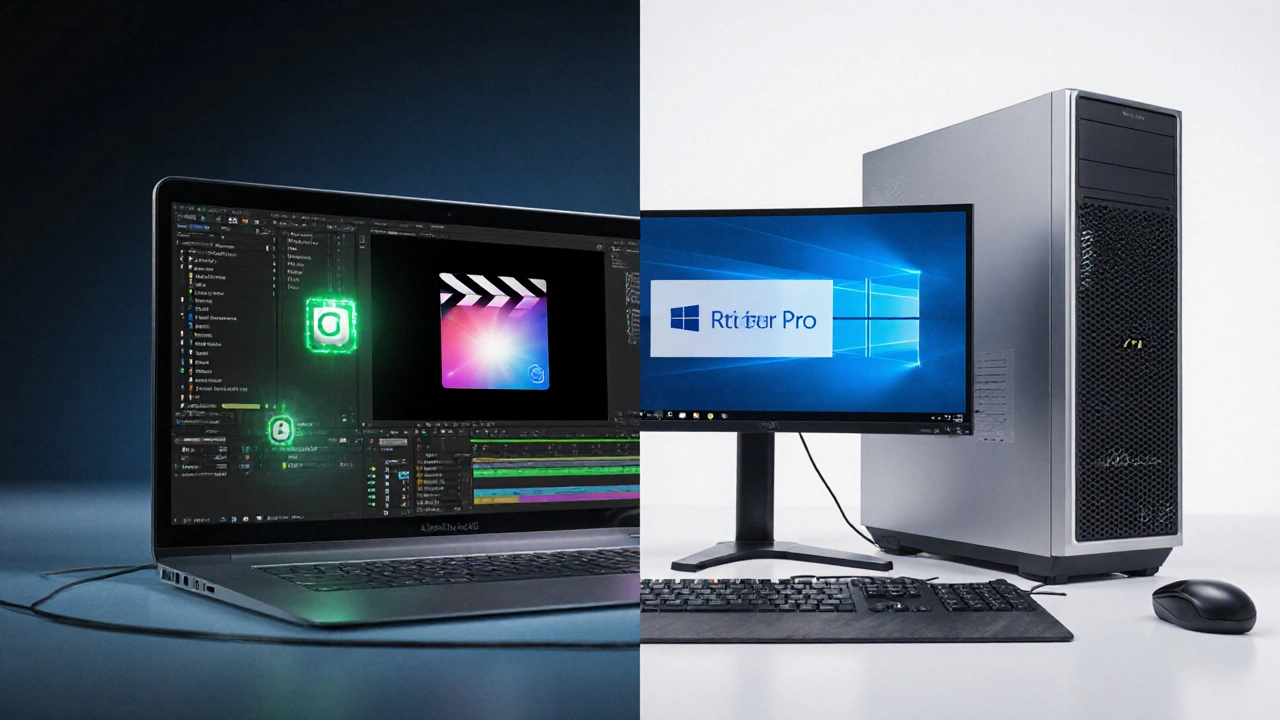
Final Cut Pro vs Premiere Pro: Which Video Editing Software Wins?
Compare Final Cut Pro and Premiere Pro across performance, workflow, pricing, and platform support to find out which video editor fits your needs.
Latest Posts
Popular Posts
-
 The Seventh Seal Explained: Ingmar Bergman’s Medieval Meditation on Death
-
 Ethics of Subject Relationships in Documentary Filmmaking: Power, Consent, and Follow-Up
-
 Brad Anderson's Dark Underbelly of Normalcy: Film Analysis
-
 Latin American Streaming: Claro Video, Star+, and Local Services Explained
-
 Acorn TV: Where to Watch International TV Shows Online
Categories
Tags
- streaming services
- video editing
- video production
- parental controls
- video editing software
- marketing mix
- subscription management
- streaming apps
- Max streaming
- video editing tips
- tips
- ROI
- video marketing
- video editing tools
- marketing strategy
- Premiere Pro
- classic cinema
- Kurosawa
- streaming setup
- Prime Video
