16
How to Build the Perfect Streaming TV Setup in 5 Steps
Want your TV to feel like a theater but without the price tag? You don’t need a $2,000 home cinema system. The perfect streaming TV setup is simpler than you think - and it’s all about the right mix of gear, connection, and habits. Most people buy the latest smart TV, plug in a Roku, and wonder why their 4K content buffers or looks muddy. That’s not the TV’s fault. It’s the setup. Here’s how to fix it in five real, no-fluff steps.
Step 1: Choose a TV That Actually Supports 4K HDR
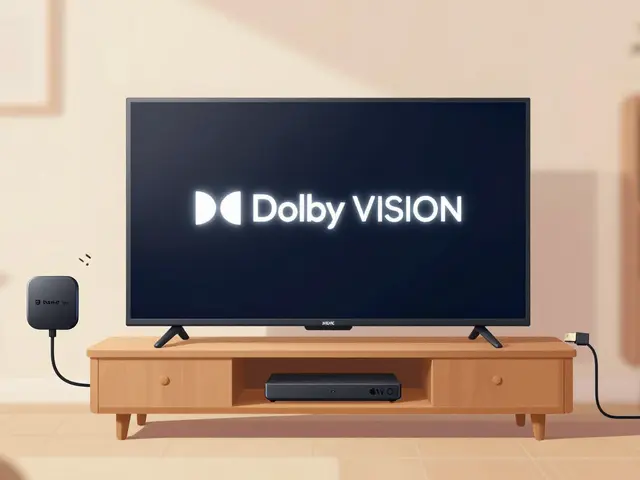
Not all ‘4K TVs’ are created equal. A $300 model might say 4K on the box, but if it doesn’t support HDR10+ or Dolby Vision, you’re missing half the picture. Look for TVs with local dimming, at least 400 nits brightness, and a refresh rate of 60Hz or higher. Brands like LG, Sony, and TCL consistently deliver solid performance under $800. Avoid gimmicks like ‘AI upscaling’ as a primary selling point - it’s nice, but not a replacement for native 4K content.
If you watch mostly Netflix, Disney+, or Apple TV+, make sure your TV supports Dolby Vision. If you’re into sports or gaming, 120Hz is worth the extra cost. A 2025 LG C3 or Sony X80K will handle everything from slow dramas to fast-paced action without motion blur. Don’t buy a TV just because it’s on sale - check rtings.com for real-world performance data. They test brightness, color accuracy, and input lag. Real numbers matter more than marketing.
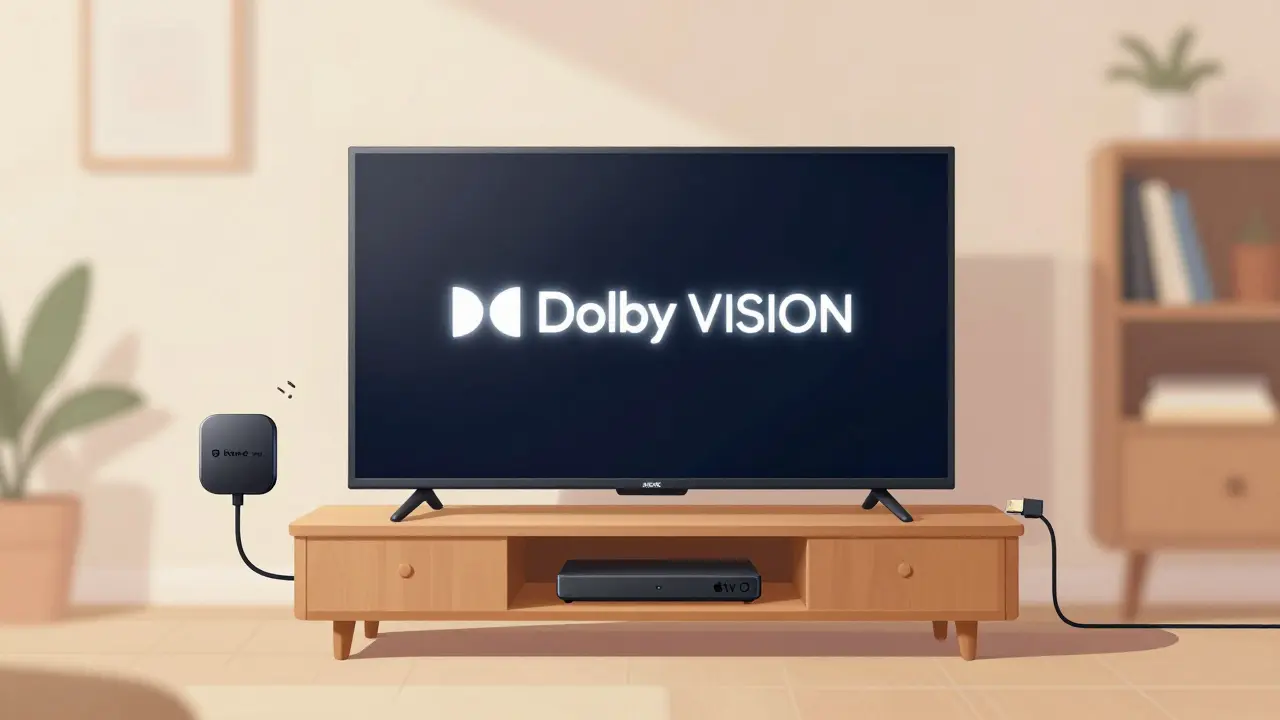
Step 2: Pick the Right Streaming Device
Smart TVs are convenient, but their software is often slow, bloated, or outdated. A dedicated streaming device gives you faster navigation, better app support, and regular updates. The Apple TV 4K (2022) is the most polished option if you’re already in the Apple ecosystem. It handles 4K HDR flawlessly and integrates with HomeKit. But if you’re not tied to Apple, the Roku Ultra (2024) is the best value. It has a voice remote with headphone jack, USB port for local media, and access to every streaming app - even niche ones like Kanopy or Tubi.
Google TV (Nvidia Shield TV Pro) is the pick for power users. It learns your habits, recommends content from multiple services, and supports 4K at 120fps. If you game on your TV, the Shield is unbeatable. Avoid Amazon Fire TV sticks unless you live and breathe Prime Video. They’re slow, cluttered with ads, and lack consistent app updates.
Step 3: Get a Fast, Reliable Internet Connection
Streaming 4K isn’t about the TV or the box - it’s about your internet. Netflix recommends 25 Mbps for 4K. But that’s the bare minimum. If you have multiple people streaming, gaming, or video calling, you need at least 50 Mbps. For a true 4K experience with zero buffering, aim for 100 Mbps or more.
Check your speed with fast.com or speedtest.net during peak hours (7-10 PM). If you’re under 40 Mbps, call your ISP. In Australia, NBN plans with 100/40 Mbps (NBN 100) are widely available and cost around $80/month. Avoid plans with data caps - streaming 10 hours of 4K a month uses about 150GB. Most unlimited plans are cheaper than paying overage fees.
Wired is better than Wi-Fi. If your router is across the room, run an Ethernet cable to your streaming box. Even a $10 cable makes a difference. If that’s impossible, get a Wi-Fi 6 router. Models like the TP-Link Deco XE75 or Netgear Orbi RBK752 handle multiple 4K streams without dropping signal. Don’t rely on mesh systems unless your house is over 200 square meters.

Step 4: Optimize Your Audio - Skip the TV Speakers
TV speakers are terrible. They’re thin, tinny, and designed to fit in a slim bezel - not to fill a room. A $100 soundbar like the Sonos Ray or Yamaha YAS-109 instantly transforms your setup. They have built-in Bluetooth, voice assistants, and enough bass to make explosions feel real. If you want surround sound, go for the Sonos Arc or LG SP9YA. Both support Dolby Atmos and work with your TV’s HDMI ARC port.
Don’t waste money on 7.1 systems unless you have a dedicated home theater room. For most living rooms, a single soundbar with a wireless subwoofer is enough. Set your TV’s audio output to ‘Bitstream’ or ‘Dolby Digital’ in the settings. This lets the soundbar decode the audio properly. If you use a Roku or Apple TV, check their audio output settings too - they can override your TV’s defaults.
Step 5: Organize Your Content and Kill the Clutter
Having 12 streaming apps open is exhausting. You’re not watching more - you’re wasting time scrolling. Use a universal guide like Plex or Kodi to pull all your subscriptions into one interface. Or, if you’re not tech-savvy, use the Roku or Apple TV home screen to pin your top three apps: Netflix, Disney+, and YouTube. Hide the rest.
Turn off autoplay previews. They’re designed to keep you watching, not to help you choose. Disable recommendations from services you don’t use. On Apple TV, go to Settings > Users and Accounts > Home Screen and turn off ‘Show Suggestions’. On Roku, go to Settings > Home Screen > Manage Channels and remove unused ones.
Keep your remote simple. If you’re juggling three remotes (TV, streaming box, soundbar), get a universal remote like the Logitech Harmony Elite. Or use the voice control on your streaming device. Say, ‘Play Stranger Things on Netflix’ - and it happens. No hunting.
Finally, update everything. Firmware updates fix bugs, improve performance, and add new features. Set your streaming box and TV to auto-update. Don’t ignore those notifications.
What You’ll Get
After these five steps, your setup will feel like a premium experience - smooth navigation, crisp 4K visuals, rich sound, zero buffering, and no stress. You won’t need to reboot your TV every night. You won’t wonder why the picture looks off. You’ll just press play and enjoy.
This isn’t about spending more. It’s about spending smarter. A $600 TV, a $100 Roku, a $120 soundbar, and a $90 internet plan can outperform a $2,500 ‘premium’ system with outdated software and poor audio. The perfect streaming setup isn’t the most expensive one. It’s the one that just works.
Do I need a 120Hz TV for streaming?
No, not unless you play games or watch fast sports. Most streaming content is 24 or 30fps. A 60Hz TV is perfectly fine for Netflix, Hulu, or Disney+. 120Hz helps with motion clarity, but it’s not worth the extra cost unless you’re using the TV for gaming or live events.
Can I use my old HDMI cable?
If it’s HDMI 1.4 or older, it might not handle 4K at 60fps. You’ll get 4K at 30fps, which is okay for movies but choppy for sports. For full 4K HDR, use an HDMI 2.0 or 2.1 cable. Most cables sold today are HDMI 2.0. Look for ‘High Speed’ on the packaging. You don’t need expensive branded cables - a $15 Amazon Basics cable works just as well.
Which streaming service has the best 4K content?
Apple TV+ has the highest percentage of native 4K HDR content - nearly all originals are shot in 4K with Dolby Vision. Netflix and Disney+ are close behind, with most of their top shows and movies in 4K. Amazon Prime Video has fewer 4K titles, and some are upscaled. HBO Max (now Max) offers 4K for select originals, but not consistently. Check the info page of any show - it’ll say ‘4K HDR’ if it’s available.
Should I buy a 4K Blu-ray player?
Only if you own physical discs or want the absolute best video quality. 4K Blu-rays have higher bitrates than streaming, so they look sharper, especially in dark scenes. But for most people, streaming is more convenient and just as good. Unless you’re a film collector, skip it. The money’s better spent on a better soundbar or faster internet.
Why does my picture look blurry sometimes?
It’s usually because your internet dropped below 15 Mbps, forcing the stream to downscale to 1080p or lower. Check your streaming app’s quality settings - make sure it’s set to ‘Auto’ or ‘High’. Also, make sure your TV isn’t using ‘Motion Smoothing’ (sometimes called ‘TruMotion’ or ‘Auto Motion Plus’). Turn it off. It makes everything look like a soap opera.
Next Steps
If you’ve followed these steps and still have issues, start with the basics: restart your router, update your streaming device, and check your HDMI connection. If the problem persists, test your setup with a different TV or monitor - that’ll tell you if it’s the device or the signal.
Once your setup is solid, explore HDR10+ content on Apple TV+, or try Dolby Atmos music on Tidal. You’ll be surprised how much more immersive your movies feel. This isn’t just about watching TV - it’s about enjoying it.