24
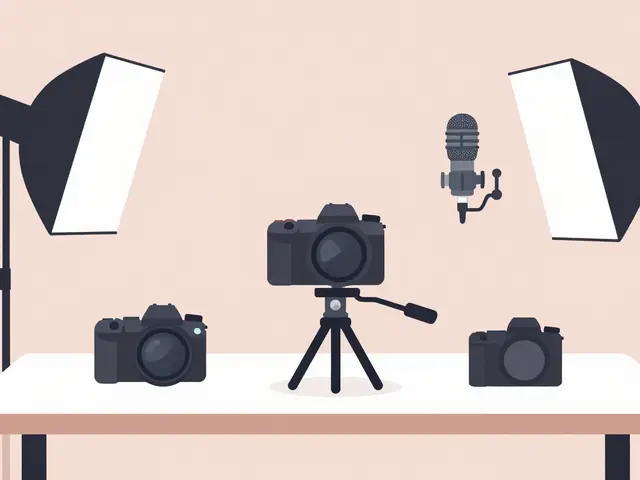
Live Streaming Equipment Checklist: Camera, Microphone, and Lighting
You hit the "Go Live" button. The chat starts rolling in. Then you notice it: your face looks like a ghost in the dark, and every time you take a breath, your audience hears a deafening roar of static. It’s embarrassing, and worse, people are clicking away. Good content doesn’t matter if your technical setup is fighting against you.
Building a professional live stream isn't about buying the most expensive gear on the market. It’s about balance. You need clear video, crisp audio, and consistent lighting. This checklist breaks down exactly what you need for your live streaming equipment, whether you are broadcasting from a bedroom in Brisbane or a dedicated studio space. We’ll skip the fluff and focus on the hardware that actually moves the needle for your viewers.
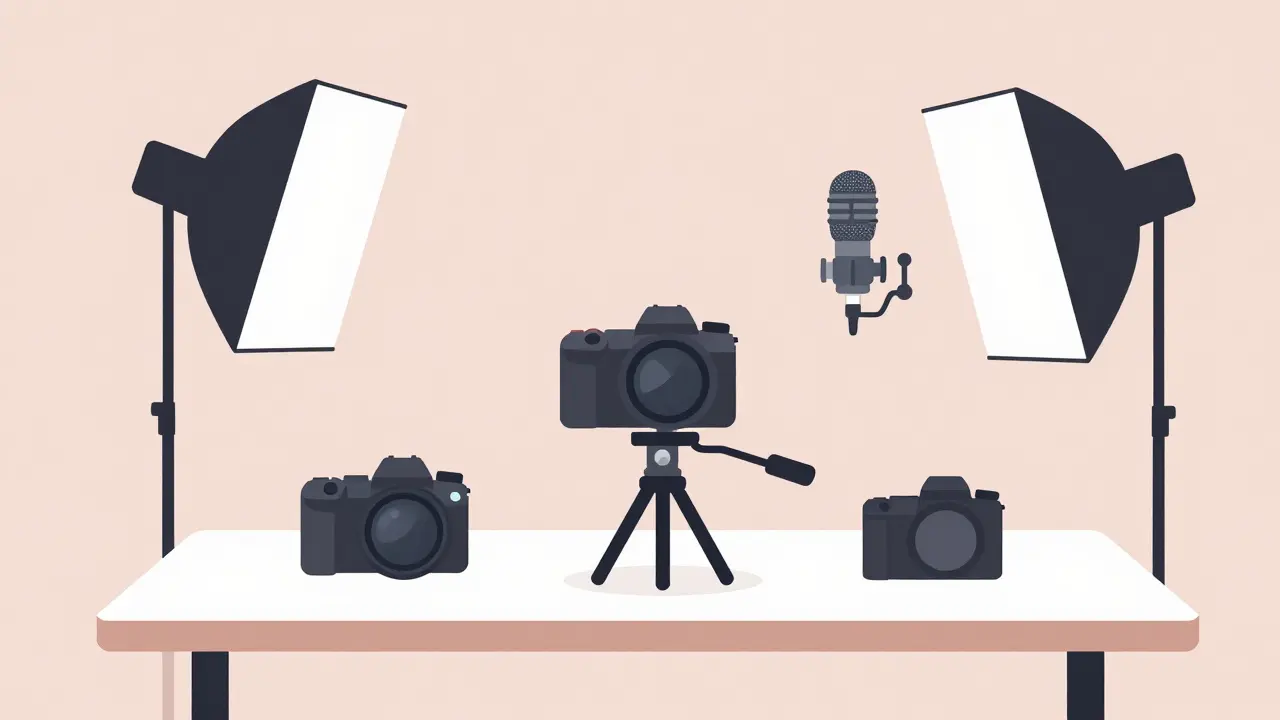
The Camera: Your Visual Anchor
Webcams vs. DSLRs: Choosing between a webcam and a mirrorless camera defines your visual quality ceiling.
Your camera is the first thing viewers see, but it is often the easiest part to get wrong. Many streamers start with a built-in laptop camera. While convenient, these sensors are tiny, struggle in low light, and produce flat, unengaging images. To step up, you have two main paths: high-end webcams or interchangeable lens cameras (DSLRs/Mirrorless).
If you want simplicity, a premium webcam like the Logitech Brio or the newer Elgato Facecam delivers 4K resolution and good autofocus without extra cables. However, if you want that broadcast look with creamy background blur (bokeh), you need a mirrorless camera. Cameras like the Sony ZV-E10 or Panasonic Lumix GH5 are favorites because they handle rolling shutter well and have clean HDMI outputs.
- Sensor Size: Larger sensors capture more light. A Micro Four Thirds sensor (like in Panasonic cameras) outperforms a standard webcam sensor in almost every lighting condition.
- Lens Choice: Use a prime lens (fixed focal length) like a 25mm f/1.8. Wide apertures let in more light and separate you from the background.
- Capture Card: If you use a DSLR, you cannot plug it directly into USB easily. You need an HDMI capture card like the Elgato Cam Link to feed the video signal into your computer software.
Don't overcomplicate this. A $300 webcam often beats a $2,000 camera used incorrectly. Master your current gear before upgrading.
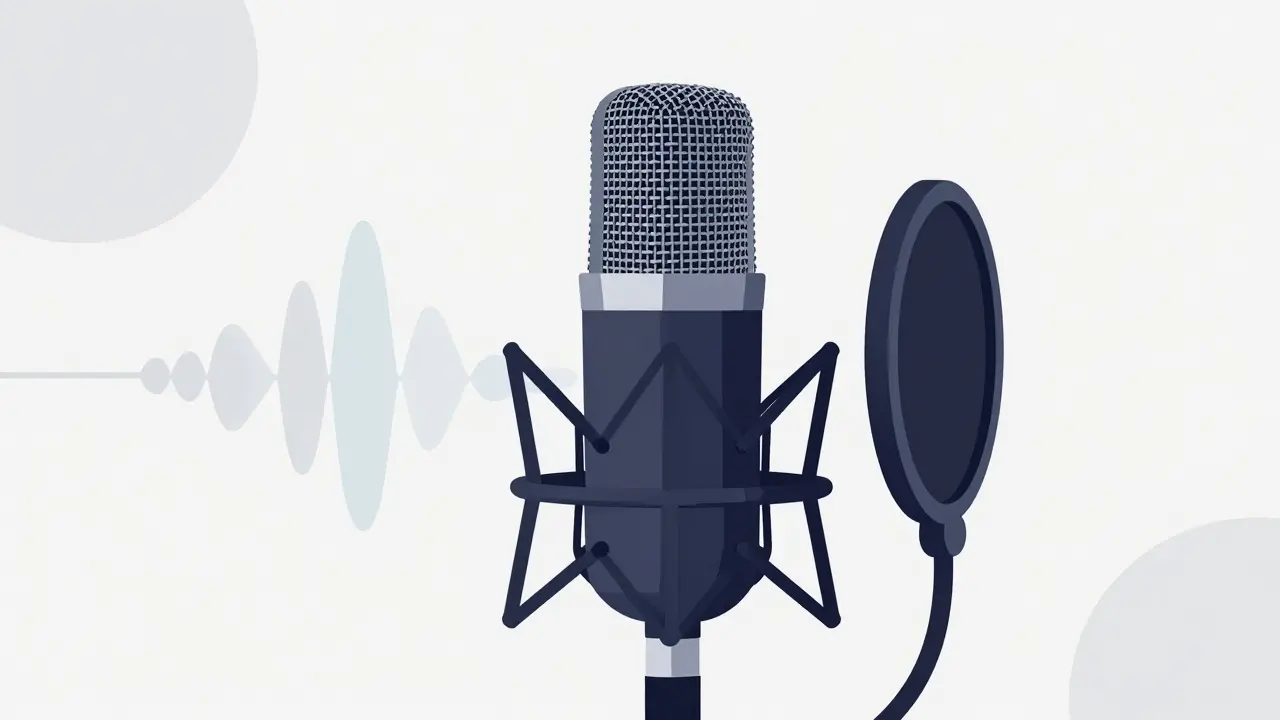
Audio: The Non-Negotiable Priority
Streaming Microphones: Audio quality retains viewers longer than video quality does.
Here is a hard truth: viewers will tolerate mediocre video, but they will click off immediately if your audio sounds bad. Bad audio causes fatigue. It makes your brain work harder to understand you. For live streaming, you generally choose between dynamic microphones and condenser microphones.
A dynamic microphone, such as the Shure SM7B or the Audio-Technica AT2020USB+, is usually the best choice for home studios. Why? Because they are directional. They pick up sound primarily from right in front of them and ignore the noise behind you-like your keyboard clacking, your dog barking, or the traffic outside your Brisbane window. Condenser mics are sensitive; they pick up everything, including the hum of your computer fan. Unless you have a professionally treated acoustic room, a condenser mic will make your room sound echoey and hollow.
- Positioning: Keep the mic 6-8 inches from your mouth. Angle it slightly off-axis to reduce plosives (the "p" and "b" pops).
- Boom Arm: Never rest a mic on your desk. Vibrations travel through wood and plastic. A boom arm isolates the mic from surface noise.
- Pop Filter: Essential for dynamic mics too. It prevents air blasts from distorting the audio waveform.
If you are on a budget, start with a USB dynamic mic. It plugs straight in, requires no extra interface, and sounds significantly better than any headset microphone.
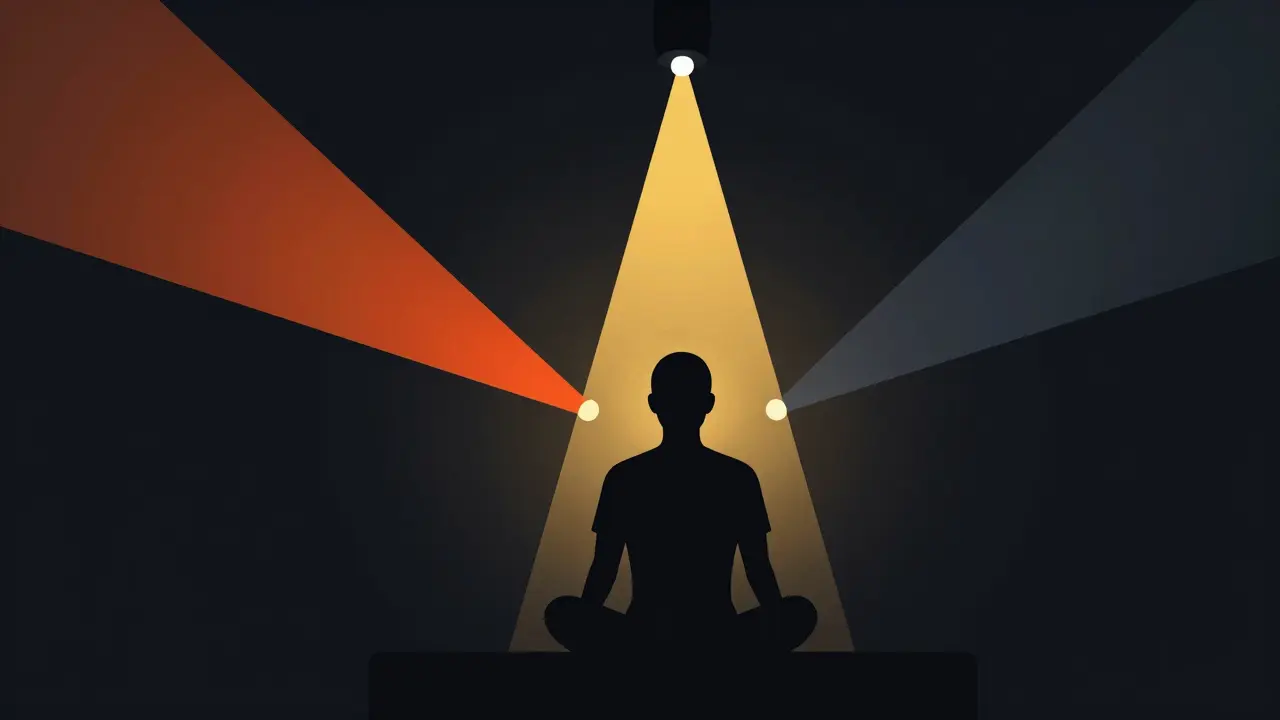
Lighting: Sculpting Your Image
Studio Lighting Setup: Proper three-point lighting eliminates shadows and adds depth to your stream.
You can have a $5,000 camera, but if your lighting is poor, you will look cheap. Lighting is not just about brightness; it is about direction and color temperature. Most beginners make the mistake of putting a single light directly in front of their face. This creates harsh shadows under your eyes and nose, making you look tired.
The gold standard is the Three-Point Lighting setup. It consists of a Key Light, a Fill Light, and a Back Light (or Hair Light).
- Key Light: This is your main source. Place it at a 45-degree angle to your face. Softbox lights are ideal here because they diffuse the light, creating smooth transitions between light and shadow.
- Fill Light: Placed on the opposite side of the key light, but weaker. Its job is to lift the shadows created by the key light so your face doesn't look half-dark.
- Back Light: Positioned behind you, pointing at the back of your head or shoulders. This separates you from the background, giving your image depth and a professional "pop."
Color temperature matters too. Aim for 5600K (daylight balanced) for all your lights. If one light is warm (yellow) and another is cool (blue), your skin tones will look unnatural. Brands like Godox and Neewer offer affordable LED panels that allow you to adjust color temperature manually.
Software and Processing Power
Hardware is useless without the software to manage it. OBS Studio remains the industry standard for free, open-source streaming software. It handles scene switching, overlays, and audio mixing. However, OBS is CPU-intensive. If you are gaming while streaming, you need a powerful processor.
| Component | Recommendation |
|---|---|
| CPU | Intel i7-12700K or AMD Ryzen 7 5800X3D |
| GPU | NVIDIA RTX 3060 or higher (for NVENC encoding) |
| RAM | 16GB minimum, 32GB recommended |
| Internet | 10 Mbps upload speed minimum (wired connection required) |
Use wired Ethernet. Wi-Fi introduces packet loss and jitter, which manifests as pixelation and dropped frames for your viewers. Never stream over Wi-Fi if you can avoid it.
Budget Tiers: Where to Start
You don’t need to buy everything at once. Here is how to allocate your funds based on your stage.
| Category | Starter ($200-$500) | Intermediate ($1000-$2000) | Pro ($3000+) |
|---|---|---|---|
| Camera | High-end Webcam (e.g., Logitech C920) | Mirrorless + Capture Card (e.g., Sony ZV-E10) | Pro Mirrorless + Prime Lens (e.g., Sony A7III) |
| Audio | USB Dynamic Mic (e.g., Samson Q2U) | XLR Dynamic Mic + Interface (e.g., Shure MV7) | Broadcast Mic + Mixer (e.g., Shure SM7B + GoXLR) |
| Lighting | Single Ring Light or Softbox | Two-Point LED Kit (Key + Fill) | Three-Point Professional LED Setup |
Notice the pattern? Audio gets priority early. A $100 mic sounds better than a $100 camera upgrade. Invest in sound first, then light, then video.
Common Pitfalls to Avoid
Even with great gear, settings can ruin your stream. One common error is auto-exposure on cameras. Turn it off. Lock your exposure, ISO, and white balance manually. Auto-exposure will darken your entire image if you raise your hands or change backgrounds, causing distracting flickering.
Another issue is bitrate mismatch. If you set your encoder bitrate too high for your internet upload speed, your stream will buffer for everyone. As a rule of thumb, keep your bitrate below 80% of your total upload capacity. If you have 10 Mbps upload, cap your stream bitrate at 6000-8000 kbps for 1080p.
Do I need a green screen for live streaming?
Not necessarily. Green screens require perfect, even lighting and add complexity to your workflow. For most creators, a clean, well-lit physical background or a blurred background via camera aperture looks more professional and authentic than a poorly keyed green screen.
Is a shotgun microphone good for streaming?
Generally, no. Shotgun mics are designed for capturing sound from a distance in outdoor environments. In a small room, they pick up excessive reflections and echo. A dynamic cardioid microphone placed close to your mouth provides much cleaner vocal isolation.
How important is internet upload speed for streaming?
It is critical. Unlike download speed, upload speed determines how smoothly your video reaches the platform. You need a stable, wired connection with at least 10 Mbps upload for 1080p streaming. Fluctuations cause pixelation and lag for your viewers.
Can I use my smartphone as a streaming camera?
Yes, modern smartphones have excellent cameras. Apps like EpocCam or DroidCam allow you to use your phone as a webcam. However, ensure you have a sturdy mount and a way to charge the phone continuously, as streaming drains batteries quickly.
What is the best lighting color temperature for skin tones?
Aim for 5600 Kelvin, which mimics natural daylight. This temperature renders skin tones accurately without making them look too yellow (warm) or too blue (cool). Consistency across all your lights is key to avoiding mixed-color casts.