14
LUTs Explained: Mastering Look-Up Tables and Color Pipelines on Set

You’re standing on set, the director calls "action," and your monitor shows a flat, gray image that looks like it was shot through fog. The actors look washed out, the lighting feels dull, and you start wondering if the camera is broken. It’s not. You’re just looking at Log footage. This is where LUTs (Look-Up Tables) come in. They are the bridge between that raw, technical data captured by your sensor and the vibrant, cinematic image the director wants to see. Understanding how LUTs fit into your on-set color pipeline isn’t just about making things look pretty; it’s about protecting your exposure, communicating your vision, and ensuring your post-production team gets exactly what they need.
What Exactly Is a LUT?
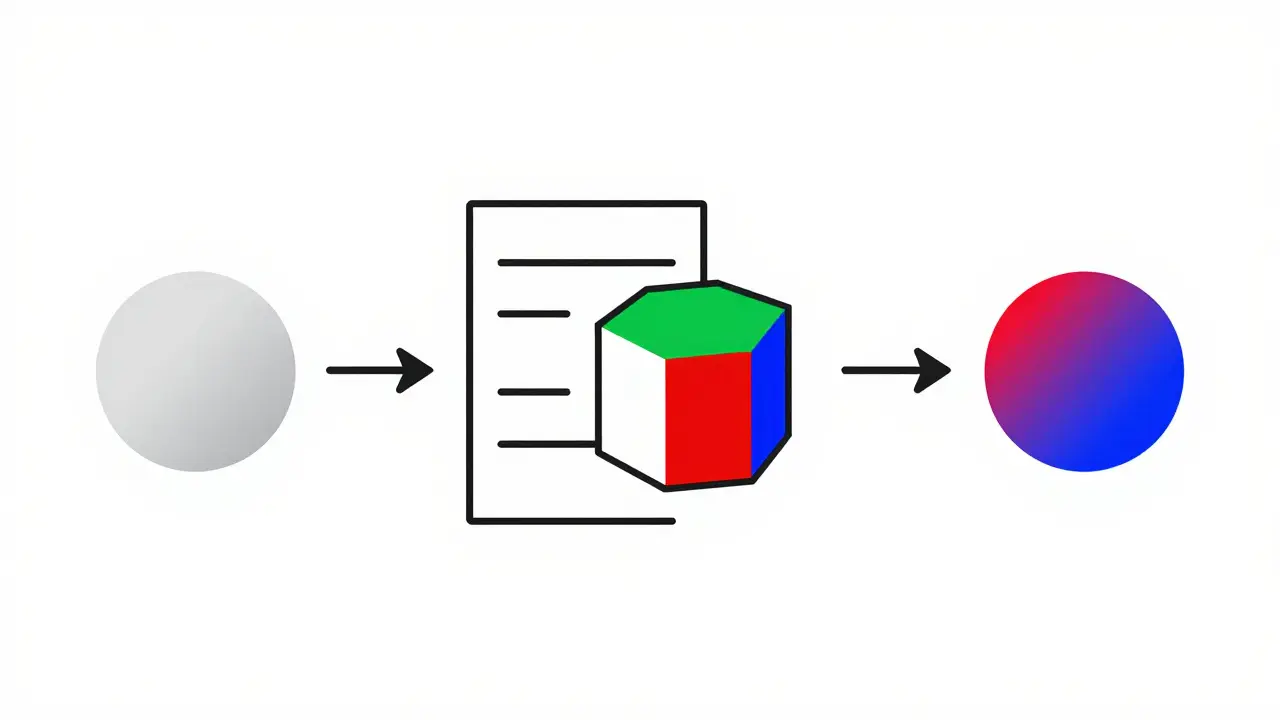
A LUT is essentially a mathematical map. Think of it as a spreadsheet with thousands of rows. Each row tells the display device: "If the input signal has this specific brightness and color value, change it to this new brightness and color value." It doesn’t add information. It doesn’t create detail that isn’t there. It simply rearranges the data you already captured.
In practical terms, a LUT takes one color space and translates it into another. For example, it might take the wide gamut, high dynamic range data from a Sony Venice or ARRI Alexa and compress it into the standard Rec.709 space used for television and web delivery. Or, it might take a neutral Log profile and apply a creative style, like a teal-and-orange blockbuster look. The key thing to remember is that a LUT is a transformation tool, not a magic wand. If your source footage is blown out or crushed, no LUT will fix it. It only works with the data you give it.
The Two Main Types of LUTs
Not all LUTs do the same job. Confusing these two types is the most common mistake beginners make on set. You need to know which one you’re loading into your monitor or recorder.
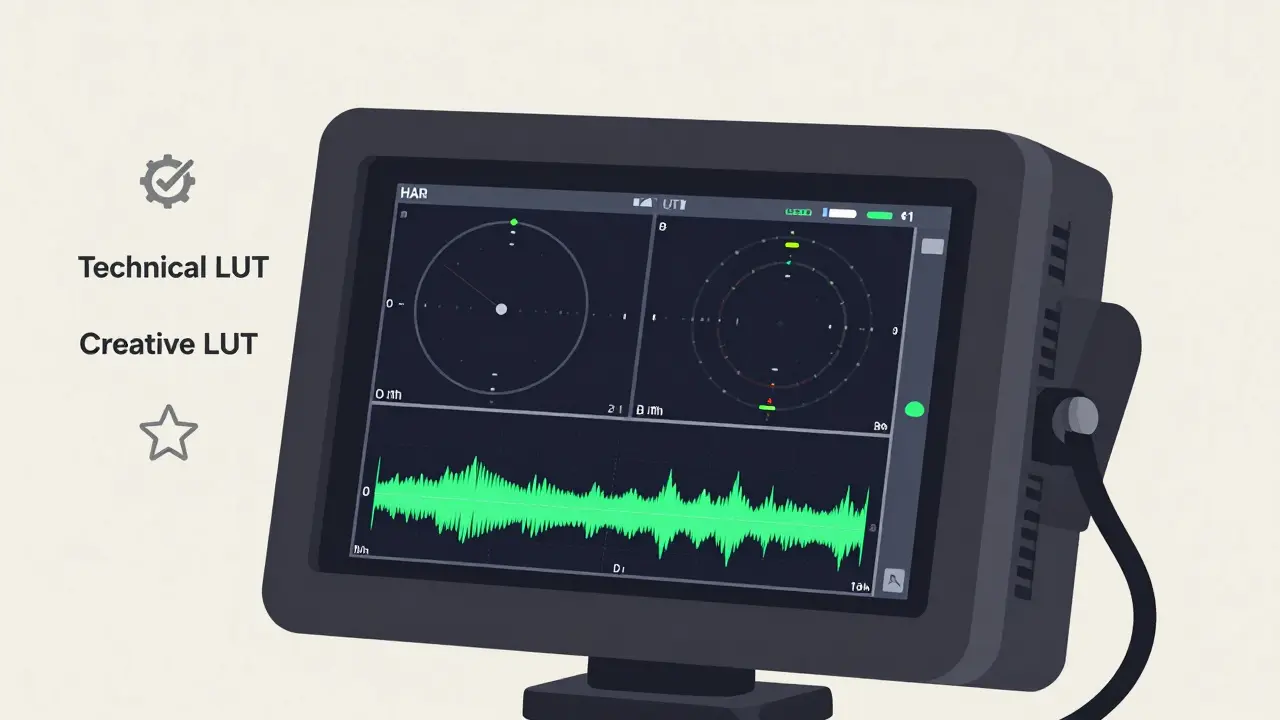
| Feature | Technical (1D/3D Conversion) | Creative (Stylized) |
|---|---|---|
| Purpose | Translate color spaces (e.g., Log to Rec.709) | Apply artistic mood or grade |
| Usage on Set | Essential for accurate monitoring | Optional, for client preview only |
| Impact on Post | None (if applied externally) | Can limit flexibility if baked in |
| File Size | Small (often 1D) | Larger (usually 3D) |
Technical LUTs are your workhorses. These are usually provided by the camera manufacturer. When you shoot in ARRI LogC, you use an ARRI LogC-to-Rec.709 LUT. This LUT maps the camera’s unique logarithmic response curve to the standard gamma curve everyone else uses. It ensures that what you see on your monitor matches what the final deliverable will look like, assuming you don’t do any further grading. It preserves contrast and saturation levels accurately.
Creative LUTs are the fun ones. You’ve probably seen packs online called "Kodak Portra" or "Cyberpunk Night." These apply specific color shifts, contrast curves, and saturation boosts to mimic film stocks or popular movie styles. While tempting, be careful. Applying a heavy creative LUT on set can hide exposure errors. If you push shadows too dark with a creative LUT, you might miss noise issues that would be visible in a neutral view. Use creative LUTs sparingly, and always keep a clean feed for your DIT (Digital Imaging Technician).
Why Your On-Set Pipeline Matters
Your color pipeline starts the moment light hits the sensor. Every decision you make affects the final image. Here’s how LUTs fit into that chain:
- Capture: The sensor records raw or Log data. This data is linear and flat.
- Processing: The camera’s internal processor applies base settings (white balance, black level). Some cameras allow you to bake a LUT into the recorded file, but this is generally discouraged for professional work.
- Monitoring: This is where external LUTs shine. Your video assist monitors and recorders apply a LUT to the signal so the crew sees a "normal" image. This helps the Director of Photography (DP) judge exposure and lighting correctly.
- Recording: Ideally, you record the unprocessed Log or Raw file. The LUT is only for viewing, not saving. This keeps your options open in post-production.
If you bake a LUT into your recording (often called "baking"), you lose the ability to adjust white balance or exposure significantly later. The data is transformed permanently. Always record clean when possible. The LUT should be a layer on top, not part of the foundation.
Choosing the Right LUT for Your Camera
Different cameras have different native color spaces. Using the wrong LUT can result in weird color casts, clipped highlights, or muddy blacks. Here’s a quick guide to matching LUTs with common cinema cameras:
- ARRI Alexa: Uses V-Log or LogC. Pair with ARRI’s official LogC-to-Rec.709 LUT. Avoid generic "cinematic" LUTs unless you understand their impact on the Alexa’s wide dynamic range.
- Sony FX Series: Uses S-Log2 or S-Log3. Sony provides specific LUTs for each. S-Log3 has less headroom than S-Log2, so the corresponding LUT lifts shadows more aggressively. Make sure you’re using the correct version.
- Canon C-Series: Uses C-Log or C-Log2. Canon’s LUTs are known for preserving skin tones well. Their "Canon Style" LUTs are good starting points for natural looks.
- Blackmagic Pocket Cinema Cameras: Uses BRAW or Blackmagic Film. Blackmagic Design offers free LUTs for their Film stock emulation. These are highly regarded for their accuracy.
Never guess. Check the camera manual or the manufacturer’s website for the recommended LUT. Third-party LUTs can be great, but they assume a certain input format. If you feed them the wrong Log profile, the colors will break.
Common Pitfalls and How to Avoid Them
Even experienced colorists make mistakes with LUTs. Here are three traps to watch out for:
1. Over-saturation: Many creative LUTs boost saturation to make images pop. This can lead to unnatural skin tones or clipped chroma values. Always check your waveform monitor. If your color bars are hitting the maximum limits, dial back the LUT intensity or choose a subtler one.
2. Ignoring White Balance: LUTs do not correct white balance. If you shoot at 5600K under tungsten lights, the image will be blue. A LUT won’t fix that. Set your white balance correctly in-camera before applying any LUT. The LUT assumes a neutral starting point.
3. Assuming One Size Fits All: A LUT designed for outdoor daylight may fail indoors under mixed lighting. Shadows behave differently depending on the light source. Test your LUT in various conditions before committing to it for a whole project.
Setting Up Your Monitor Correctly
Loading a LUT is easy; displaying it correctly is harder. Most professional monitors support 3D LUTs via SD cards or USB drives. Follow these steps to ensure accuracy:
- Calibrate Your Monitor: Before loading any LUT, calibrate your monitor to a standard reference (like D65 white point). An uncalibrated monitor will lie to you.
- Select the Right Input: Ensure your monitor is set to receive the correct signal format (SDI, HDMI, etc.). Some monitors have separate LUT slots for different inputs.
- Load the LUT: Insert the card, navigate to the LUT menu, and select the file. Wait for the monitor to process it. This can take a few seconds.
- Verify with Test Patterns: Display a color bar test pattern. Check if the red, green, and blue levels match the expected values. If they look off, the LUT might be incompatible or corrupted.
Always have a backup plan. Carry a second LUT file in case the first one fails. And never rely solely on your monitor. Use scopes-waveform monitors and vectorscopes-to verify exposure and color objectively.
The Future of On-Set Color
As cameras become more powerful, the role of LUTs is evolving. We’re seeing more AI-driven tools that can analyze scenes and suggest optimal LUTs in real-time. Virtual production stages also require precise LUT management to match LED wall content with camera output. But the core principle remains the same: capture the best data possible, and use LUTs as a translation tool, not a crutch.
Understanding LUTs gives you control over your image from the very first frame. It allows you to communicate clearly with your team and protect your footage for post-production. So next time you see that flat, gray image on your monitor, smile. You know exactly what it means, and you know how to bring it to life.
Should I bake the LUT into my recorded footage?
Generally, no. Baking a LUT permanently alters the pixel data, reducing your flexibility in post-production. It can clip highlights, crush shadows, and lock in color decisions that you might want to change later. Always record clean Log or Raw footage and apply LUTs only for monitoring purposes. This ensures you have the highest quality data for color grading.
Can I use a free LUT from the internet?
Yes, but with caution. Free LUTs vary widely in quality. Some are well-made, while others are poorly optimized and can cause banding or color inaccuracies. Always test a free LUT on your specific camera and footage before relying on it for a project. Preferably, use LUTs provided by your camera manufacturer for critical technical conversions.
What is the difference between a 1D and 3D LUT?
A 1D LUT adjusts luminance (brightness) only, affecting gamma and contrast. It cannot change colors independently. A 3D LUT adjusts both luminance and chrominance (color), allowing for complex color transformations. Most creative and technical color space conversions require 3D LUTs because they need to manipulate hue and saturation separately from brightness.
Do LUTs improve image quality?
No, LUTs do not add detail or improve resolution. They only transform existing data. If your footage is noisy or out of focus, a LUT will not fix it. In fact, aggressive LUTs can sometimes reveal noise by boosting contrast. LUTs are for styling and translation, not enhancement. Good exposure and lighting are far more important than any LUT.
How do I know if my LUT is working correctly?
Use test patterns and scopes. Display a standard color bar pattern and check if the levels match the expected values on your waveform monitor. Visually, skin tones should look natural, and highlights shouldn’t be clipped unless intended. If colors look strange or inconsistent, try reloading the LUT or checking compatibility with your camera’s Log profile.