5
YouTube Live Setup Guide: Go Live in Minutes
There is nothing quite like the panic of staring at a black screen while your chat floods with "is this thing on?" messages. You spent hours planning your stream, promoted it for weeks, and now you are two minutes from going live with zero viewers because you forgot to check your microphone levels. Sound familiar? YouTube Live is a real-time video broadcasting feature that allows creators to stream directly to their channel, enabling instant interaction with audiences through comments and super chats. It is not just about hitting a button; it is about having a reliable pipeline from your camera to the viewer's screen. If you want to avoid the technical glitches that kill momentum, you need a setup that works before you even press start.
The Hardware Reality Check
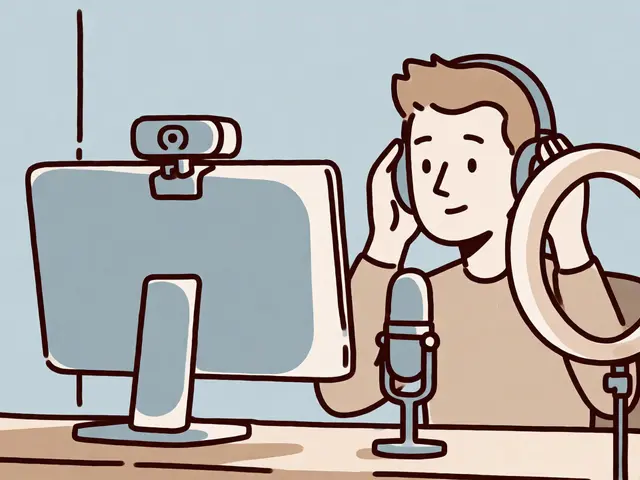
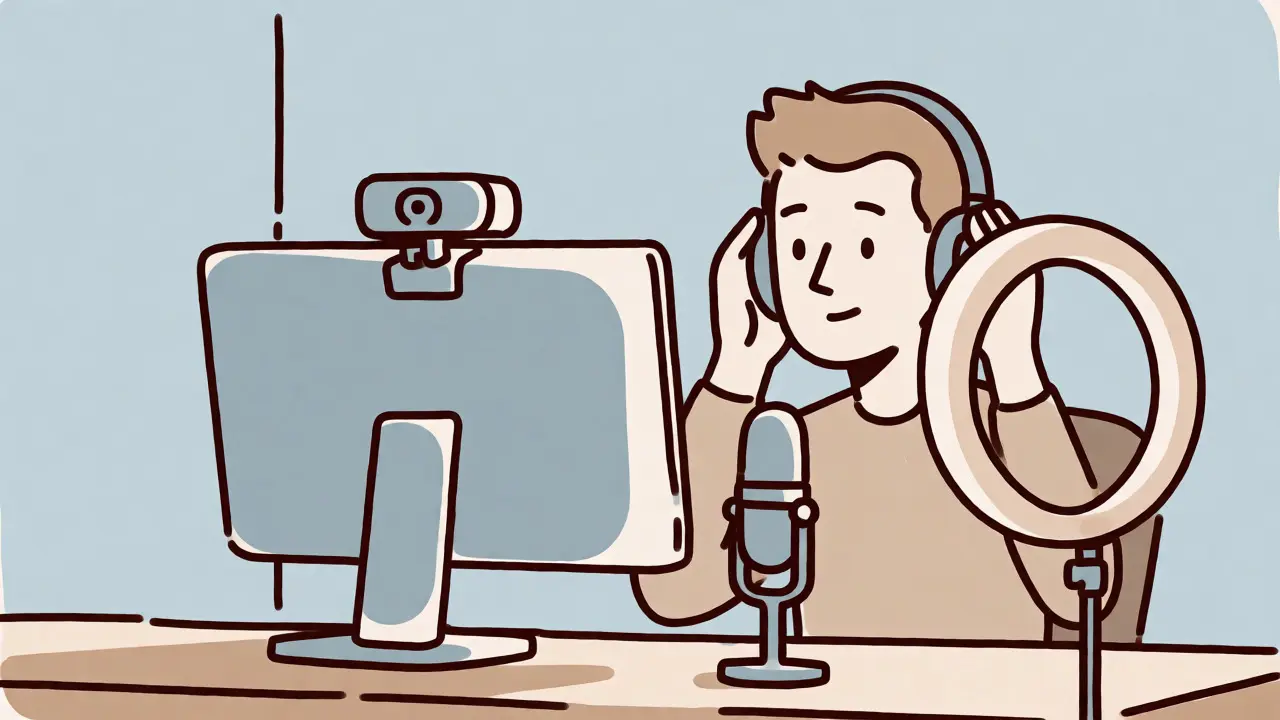
Before you touch any software, look at what you have sitting on your desk. You do not need a Hollywood studio, but you do need three things that actually work together: a clear picture, clean audio, and stable internet. Most beginners make the mistake of buying an expensive 4K webcam when their computer cannot handle the encoding load. For most Content Creators, individuals or teams who produce digital media for online platforms, specifically focusing on video and interactive formats., a 1080p camera at 30 or 60 frames per second is plenty. Your eyes will thank you if you invest in lighting instead. A simple ring light or softbox positioned in front of you makes a $50 webcam look professional, whereas no amount of post-processing can fix grainy footage shot in a dim room.
Audio matters more than video. Viewers will tolerate a slightly blurry image, but they will click away instantly if your voice sounds like it is coming from inside a tin can. USB microphones like the Blue Yeti or Audio-Technica AT2020USB+ are solid starting points because they plug and play without needing extra drivers. However, if you plan to move around or use multiple mics, you might need an interface. Whatever you choose, always wear headphones. Listening to your own voice through speakers causes feedback loops that ruin streams faster than anything else.
Choosing Your Streaming Software
You have two main paths here: go direct via YouTube Studio or use external encoder software. Direct streaming is great for quick, low-stakes broadcasts where you just point and shoot. But if you want overlays, scene switching, or game capture, you need a dedicated tool. OBS Studio is free, open-source software for video recording and live streaming that supports Windows, macOS, and Linux. remains the industry standard for good reason. It is free, powerful, and has a massive community creating plugins and guides. The learning curve is steep, but once you set up your scenes-say, one for talking head, one for gameplay, one for breaks-you never have to rebuild them.
| Tool | Best For | Cost | Learning Curve |
|---|---|---|---|
| OBS Studio | Custom setups, gamers, multi-camera shows | Free | Moderate |
| Streamlabs Desktop | Beginners wanting pre-made alerts and widgets | Free (with paid features) | Low |
| YouTube Studio | Simple vlogs, Q&A sessions, mobile streams | Free | Very Low |
If OBS feels too intimidating, Streamlabs Desktop is a fork of OBS designed with user-friendly interfaces and integrated donation alerts for live streamers. offers a gentler entry. It comes with built-in themes and alert systems that notify you when someone subscribes or donates. The trade-off is higher resource usage; Streamlabs tends to eat more CPU and RAM than raw OBS. Test both during a private rehearsal to see which one keeps your frame rate stable.
Configuring Your Encoder Settings
This is where the magic happens, and also where most people mess up. Your encoder settings determine how your video looks and how smooth it runs. You need to balance quality against bandwidth. Start with these baseline settings for 1080p streaming:
- Resolution: 1920x1080
- FPS: 30 fps for talking heads, 60 fps for gaming or fast motion
- Bitrate: 4500-6000 Kbps for 1080p/30fps; 6000-9000 Kbps for 1080p/60fps
- Encoder: Use x264 (CPU) if your graphics card is weak; use NVENC (NVIDIA) or AMF (AMD) if you have a modern GPU to offload the work.
- Keyframe Interval: Set to 2 seconds. This helps YouTube process the stream efficiently.
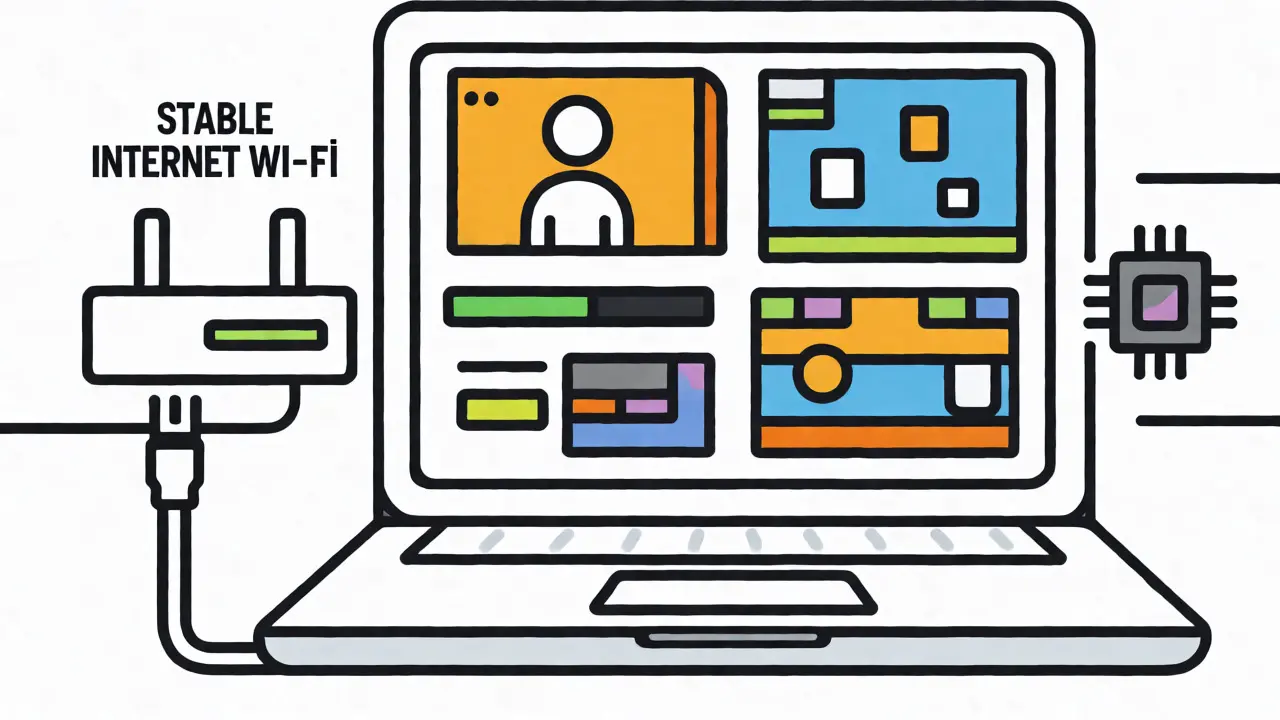
Do not guess your upload speed. Run a test using a service like Fast.com or Speedtest.net. You need at least 1.5 times your target bitrate available as a buffer. If you plan to stream at 6000 Kbps, ensure your upload speed is consistently above 9 Mbps. Wi-Fi is risky for live streams because interference causes packet loss, which results in pixelated blocks. If possible, plug an Ethernet cable directly into your router. It is a small inconvenience that saves your entire broadcast.
Setting Up the Stream Key and Title
Once your hardware and software are ready, log into YouTube Studio. The central dashboard for managing YouTube channels, including analytics, content management, and live streaming controls. Navigate to the "Create" button and select "Go Live." Here you will find your unique Stream Key. Think of this key as a password that tells YouTube where to send your video data. Keep it secret. If someone steals your key, they can hijack your stream.
Copy the key and paste it into your streaming software under "Settings" > "Stream." Select "YouTube - RTMP" as the service. Now, back in YouTube Studio, craft your title and description. Do not leave these blank. Even if you are testing, add keywords so the algorithm knows what to expect. Set your visibility to "Unlisted" for rehearsals. This lets you share the link with friends for feedback without broadcasting to your entire subscriber base. Once you are confident, switch it to "Public" or "Scheduled" if you want to build hype before the actual start time.
Engagement and Post-Stream Strategy
Going live is only half the battle. Keeping people there requires active engagement. Assign a moderator if you have a large audience, or pin important comments yourself. Ask questions early. People are shy at first, but once they see others typing, they join in. Use features like Super Chat to highlight donations, giving donors a sense of recognition. Remember, the live chat is part of the show. Acknowledge names, answer questions, and react to jokes. Authenticity beats production value every time.
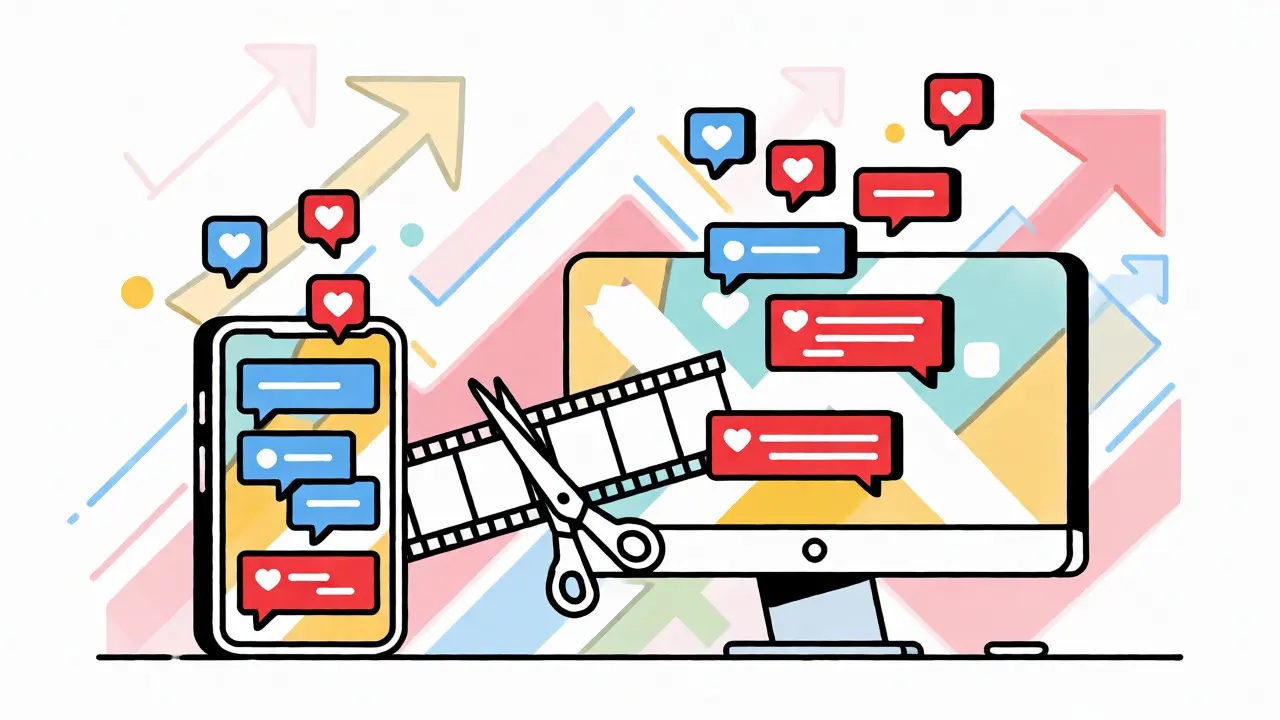
After the stream ends, do not just close the tab. YouTube automatically converts your live broadcast into a VOD (Video On Demand) archive. Edit this recording. Cut out the dead air at the beginning and end. Add chapters if you covered different topics. Then, clip the best moments into Shorts or TikToks. These clips drive traffic back to the full replay. Analytics in YouTube Studio will show you exactly when viewers dropped off. Did you lose 20% of your audience when you started talking about sponsorships? Next time, keep that segment shorter or more energetic.
Why does my stream lag even though my internet is fast?
Lag usually stems from encoding issues rather than internet speed. If your CPU is overloaded trying to compress the video, frames drop before they even hit the network. Try lowering your output resolution to 720p, reducing FPS to 30, or switching your encoder from x264 (CPU-based) to NVENC or AMF (GPU-based). Also, close other heavy applications like Chrome tabs or games running in the background.
Can I stream from my phone?
Yes, the YouTube app supports mobile streaming. It is perfect for behind-the-scenes content, travel vlogs, or casual Q&As. To go live on mobile, tap the create button (+), select "Go Live," and follow the prompts. Note that you may need a certain number of subscribers (historically 50, though rules vary by region and account status) to unlock this feature. Ensure your phone is charged or plugged in, as streaming drains battery quickly.
What is the difference between 'Stream' and 'Schedule'?
"Stream" starts immediately, useful for spontaneous events. "Schedule" sets a future date and time, allowing YouTube to display a countdown timer on your channel page. Scheduling is better for planned events because it sends notifications to subscribers beforehand, building anticipation. You can still edit details like titles and thumbnails after scheduling but before going live.
How long should a YouTube Live stream be?
There is no hard rule, but retention drops significantly after 60-90 minutes for general talk streams unless you have a very engaged niche community. Gaming streams often last longer (2-4 hours) because viewers treat them as background company. Aim for consistency rather than length. A high-energy 45-minute stream often performs better than a dragging 3-hour session. Monitor your analytics to find your audience's sweet spot.
Do I need copyright music for my stream?
Yes. Playing copyrighted music without permission can result in muting segments of your VOD or demonetization. Use royalty-free libraries like Epidemic Sound, Artlist, or the YouTube Audio Library. Some artists allow non-commercial use, but always verify terms. During live broadcasts, detection is slower, but the VOD archive will be scanned later, potentially affecting monetization retroactively.