2
Black Crush and Raised Blacks: Calibrate HDR for Dark Scenes
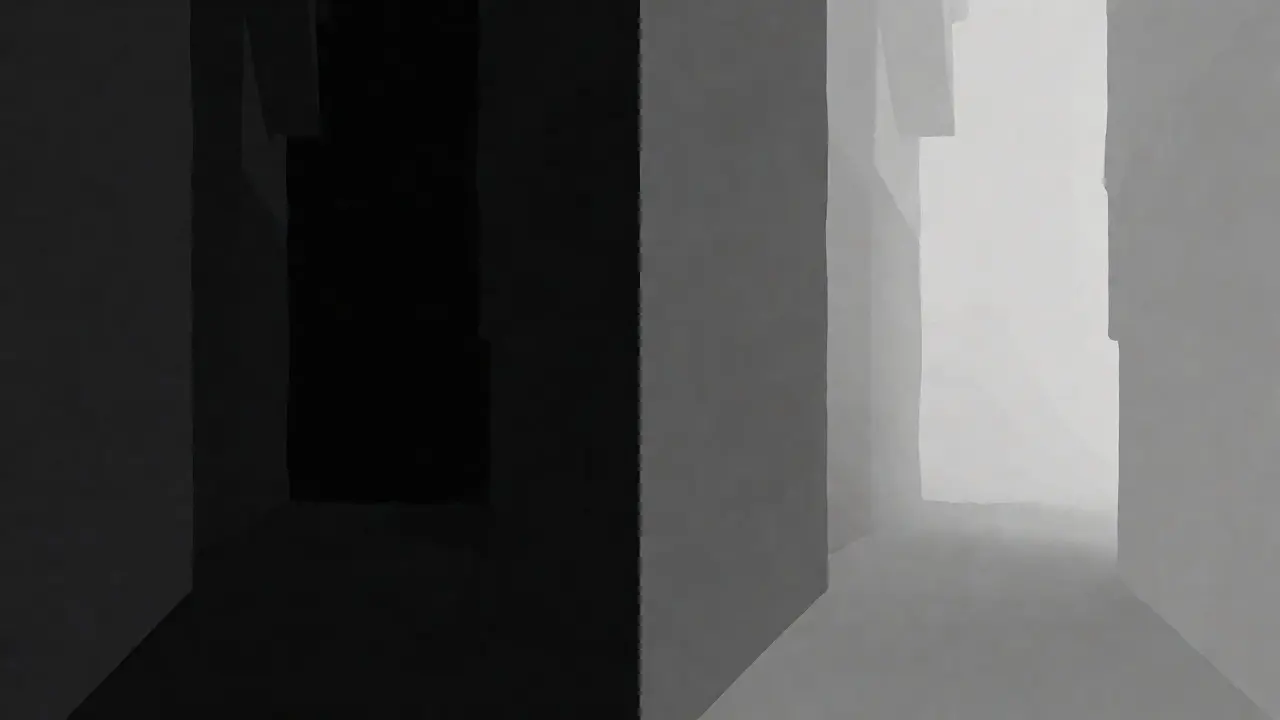
You’ve just finished color grading a moody thriller sequence. On your reference monitor, the shadows look deep, rich, and mysterious. But when you export it to HDR and watch it on a consumer TV, the dark corners vanish into a flat gray haze or disappear entirely into pure black voids. This isn’t magic; it’s a mismatch between your creative intent and the display’s capability to render low-light data. The culprit is usually one of two things: black crush or raised blacks. Getting these right is the difference between a cinematic masterpiece and a muddy mess. If you’re working with HDR formats like Dolby Vision or HDR10+, understanding how to calibrate for dark scenes is non-negotiable.
The Physics of Light in Your Shadows
To fix the problem, you have to understand what’s actually happening in the signal chain. Standard Dynamic Range (SDR) content typically maps its darkest point to around 0.1 nits or even higher depending on the gamma curve. High Dynamic Range (HDR), however, pushes this boundary significantly lower. Standards like ITU-R BT.2100 define the minimum luminance for HDR displays, but consumer panels vary wildly. An OLED might hit true 0.0005 nits, while an edge-lit LCD might struggle to go below 0.05 nits without blooming.
Black crush occurs when multiple distinct shades of dark gray are mapped to the same absolute black value (0.0). In digital terms, if your shadow details fall below the display’s noise floor or minimum luminance threshold, they get clipped to zero. You lose all texture, depth, and separation. Imagine a night sky where stars are indistinguishable from the background because the panel can’t differentiate between 0.001 nits and 0.0001 nits. Everything becomes a single, featureless blob.
On the flip side, raised blacks happen when the black level is lifted above the true zero point. Instead of seeing deep space, you see a milky gray fog. This often results from incorrect tone-mapping algorithms that try to preserve detail by boosting the lowest values, sacrificing contrast for visibility. While you can see more detail, the image lacks punch and feels washed out, destroying the dramatic tension you worked so hard to create.
Why Your Reference Monitor Lies to You
Most professional colorists work on high-end reference monitors calibrated to specific standards like PQ (Perceptual Quantizer) for HDR. These monitors are linear and precise. However, the end-user’s experience is governed by their specific hardware and ambient lighting conditions. A user watching in a bright living room will perceive shadows differently than someone in a pitch-black home theater.
Here is the critical trap: if you grade strictly for your perfect studio environment, you ignore the reality of tone mapping. Tone mapping is the process of compressing the wide dynamic range of your master file to fit the capabilities of a less capable display. If your master has extreme lows that the target display cannot reproduce, the tone mapper has to make a choice: crush them to black or raise them to gray. It doesn’t know which details are important to you. That’s why you need to pre-emptively adjust your footage.
The Role of Ambient Light Sensors
Modern TVs use ambient light sensors to adjust brightness dynamically. In a dark room, the TV might allow deeper blacks. Turn on a lamp, and the TV boosts the black floor to prevent the image from looking too dim. This means your "perfect" shadow detail might disappear during the day and become invisible at night. You aren’t just calibrating for a static screen; you’re calibrating for a variable environment.
Calibration Strategies for Deep Shadows
So, how do you avoid both extremes? You don’t aim for absolute perfection in the deepest shadows; you aim for resilience. Here is a practical workflow to ensure your dark scenes survive the journey from edit suite to living room.
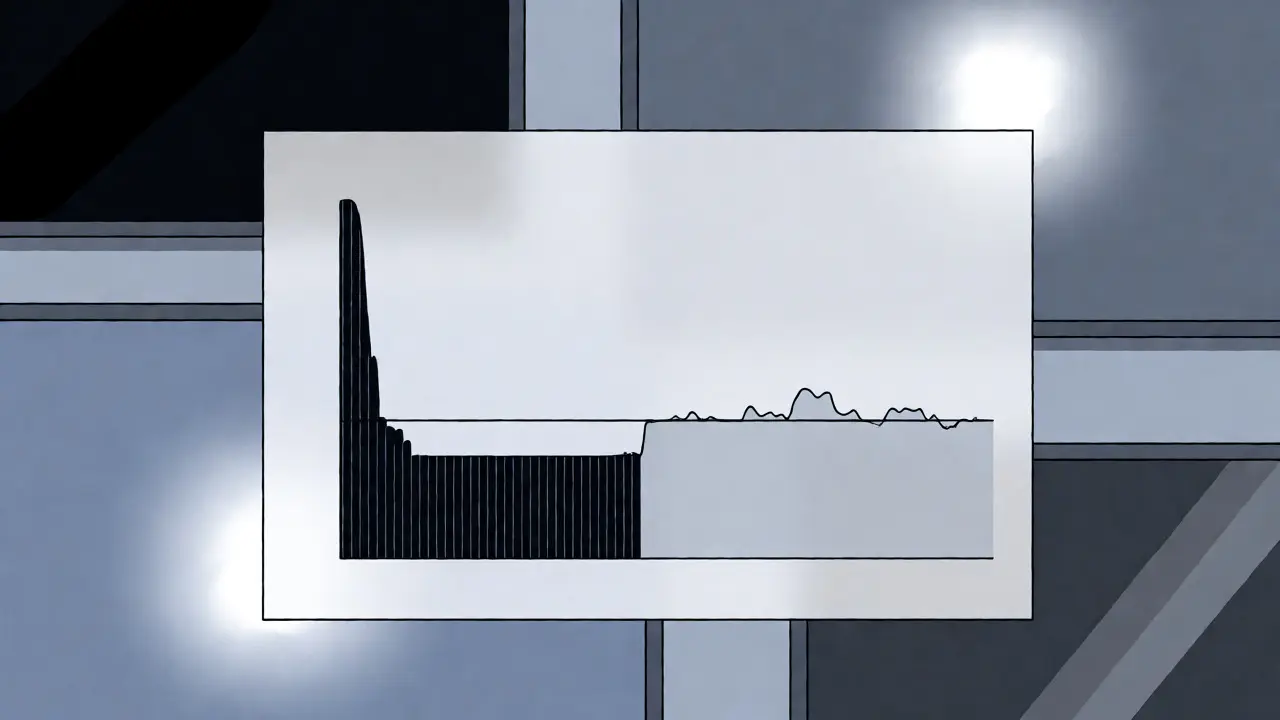
- Use Waveform Monitors Aggressively: Don’t trust your eyes alone. Use a waveform monitor set to log scale. Check the bottom of your waveform. If you see a pile-up of pixels at the very bottom line, you have black crush. If the line starts well above the bottom, you have raised blacks.
- Target Specific Luminance Levels: For HDR10, keep your darkest visible details above 0.005 nits if possible. For Dolby Vision, you have more metadata control, allowing you to instruct the display on how to handle these levels per frame or scene.
- Preserve Separation, Not Just Depth: It’s better to have slightly lifted blacks with visible texture than crushed blacks with none. A subtle lift of 0.001 nits can save a face from disappearing into a background.
Consider a scene where a character wears a black suit against a black wall. In SDR, you might rely on slight highlights on the fabric to separate the subject. In HDR, you can push the background down, but only if the display supports it. If you crush the background to 0.0, and the suit is also near 0.0, they merge. By lifting the background slightly to 0.002 nits and keeping the suit at 0.005 nits, you maintain separation even on mediocre displays.
Metadata Is Your Best Friend
This is where Dolby Vision shines compared to static HDR10. HDR10 uses static metadata, meaning the same instructions apply to the entire movie. Dolby Vision uses dynamic metadata, which can change every second-or even every frame.
Dynamic metadata allows you to tell the display: "Hey, this scene is super dark, please prioritize preserving shadow detail over peak brightness." Or conversely, "This scene is bright, feel free to crush the blacks to enhance contrast." Without this, the display’s internal processor guesses based on average picture level (APL), which often leads to inconsistent results.
If you are delivering in HDR10, you must be more conservative. Since you can’t guide the display frame-by-frame, you need to ensure your black levels are within a safe range that most mid-tier TVs can handle. This usually means avoiding extreme blacks unless you are certain your audience has high-end OLEDs.
Testing Across Device Tiers
You cannot rely on one monitor. To truly calibrate for dark scenes, you need a test matrix. Here is how different device tiers typically handle low-light signals:
| Device Tier | Panel Type | Typical Black Level | Risk Factor | Calibration Tip |
|---|---|---|---|---|
| High-End | MicroLED / OLED | < 0.0005 nits | Low | Can push deeper blacks; focus on highlight roll-off. |
| Mid-Range | Full Array Local Dimming (FALD) | 0.01 - 0.05 nits | Medium (Blooming) | Avoid isolated bright objects on pure black backgrounds. |
| Budget | Edge-Lit LED | 0.05 - 0.1 nits | High (Raised Blacks) | Lift shadow details slightly; expect grayish blacks. |
| Mobile | OLED (Phone) | True Black | Variable (Brightness Limits) | Ensure details remain visible at reduced brightness modes. |
Notice the risk factor for Mid-Range FALD screens. These TVs try to achieve deep blacks by turning off zones behind dark areas. If you have a bright star next to a dark cloud, the TV might open the zone too wide, causing "blooming" or halos. This makes dark scenes look artificial. To mitigate this, avoid placing small, extremely bright elements directly adjacent to large, deep black areas. Soften the transition.
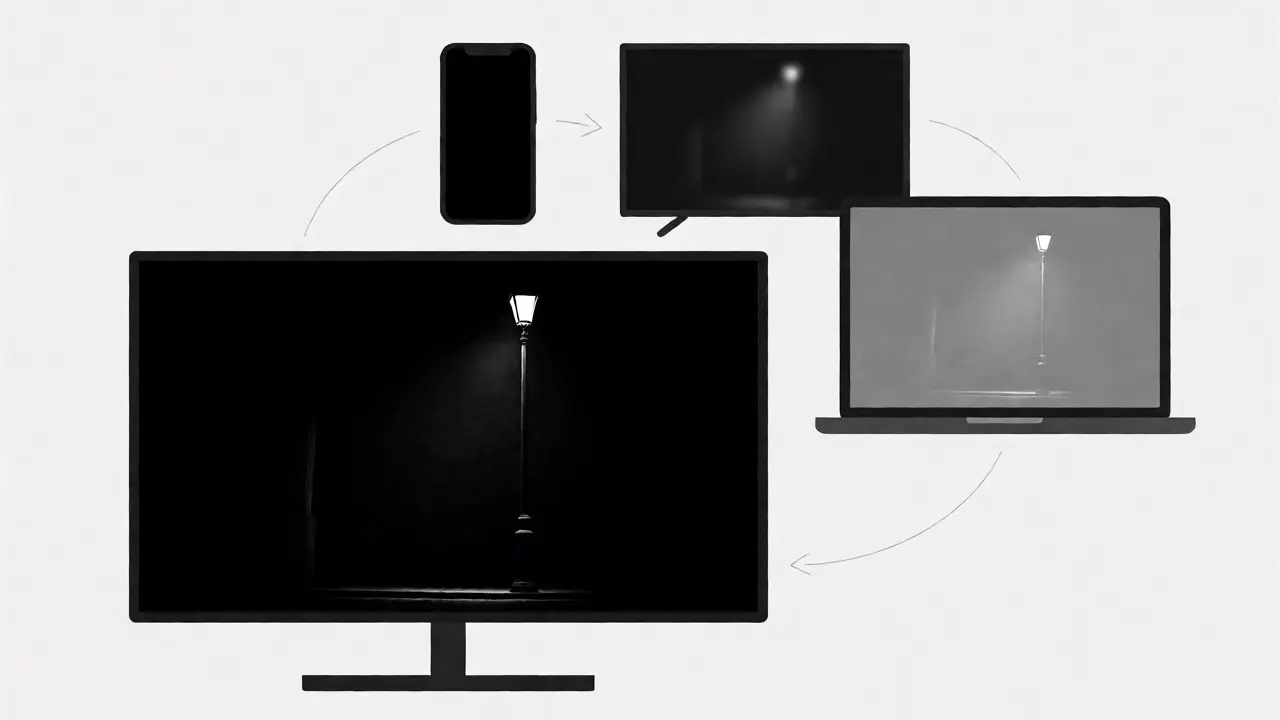
Practical Workflow Adjustments
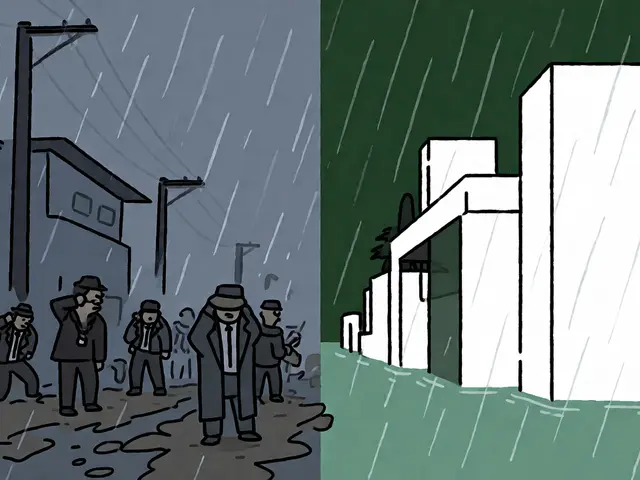
Let’s walk through a concrete example. You are grading a noir detective scene. The protagonist stands under a streetlamp in heavy rain. The rest of the alley is pitch black.
First, check your scopes. The streetlamp hits 1000 nits. The wet pavement reflects some light, maybe hitting 50 nits. The shadows in the alley are hovering at 0.001 nits. On your OLED reference, this looks great. Now, imagine a budget LCD viewer. Their black floor is 0.05 nits. Your 0.001 nit shadows are now mapped to 0.05. They are still black, but any detail that was at 0.002 is now also 0.05. You’ve lost the gradient.
Adjustment: Lift the entire shadow region by 0.005 nits. Now the darkest parts are at 0.006. On the budget LCD, these map closer to the native black level, preserving the slight variation in the wet pavement reflections. Yes, the blacks are technically "lighter," but on the actual viewing device, they appear as textured darkness rather than a flat void.
Another trick is using color temperature shifts in shadows. Human eyes are less sensitive to color differences in very dark areas. By shifting the deep shadows slightly toward blue or teal, you can create perceived depth without relying solely on luminance. This helps distinguish layers in the darkness even if the luminance values are compressed.
Pitfalls to Avoid
One common mistake is over-correcting for mobile devices. Phones have excellent OLED panels but limited peak brightness. If you crush blacks too much for mobile, users who turn up the volume (and thus screen brightness) might find the scene unreadable. Always check your grade on a smartphone in both auto-brightness and manual max-brightness modes.
Another pitfall is ignoring the EOTF (Electro-Optical Transfer Function). Ensure your timeline settings match the delivery format. Grading in Rec.709 and exporting to PQ without proper conversion will result in massive black crush issues. Always verify that your project settings align with the final deliverable standard.
Frequently Asked Questions
What is the ideal black level for HDR10?
While HDR10 standards allow for theoretical values down to 0.0005 nits, most consumer displays cannot reliably resolve details below 0.01 nits. For maximum compatibility, aim to keep essential shadow details above 0.005 to 0.01 nits. Anything lower risks being crushed to black on mid-range LCD panels.
How does Dolby Vision help with black crush?
Dolby Vision uses dynamic metadata to provide frame-by-frame instructions to the display. It can tell the TV to prioritize shadow retention in dark scenes, effectively raising the black floor slightly on capable displays to preserve detail, while allowing deeper blacks on high-end panels. This prevents the static tone-mapping errors common in HDR10.
Why do my blacks look gray on my laptop?
Many laptops, especially older models or those with IPS panels, have poor contrast ratios and lack local dimming. They often struggle to reach true black levels, resulting in raised blacks. Additionally, if the laptop is not properly calibrated for HDR or is running in SDR mode, the tone-mapping may lift the shadows significantly to ensure visibility on the lower-brightness screen.
Should I crush blacks for artistic effect?
Yes, but carefully. Crushing blacks can add mood and mystery. However, ensure that no critical narrative information (like a hidden object or facial expression) exists in the crushed area. If the detail is gone on a good OLED, it’s definitely gone on an LCD. Use crushing intentionally, not accidentally due to poor calibration.
How do I test for raised blacks?
Use a test pattern with a pure black field containing a faint gray circle (e.g., 1% gray). If the circle is completely invisible on your reference monitor but visible on a consumer TV, you likely have raised blacks on the consumer device. Conversely, if the circle disappears on your monitor but appears on the TV, your monitor may have crushed the blacks or the TV is lifting them excessively.