19
Fix HDR Too Dark on Streaming: Brightness & Tone Mapping
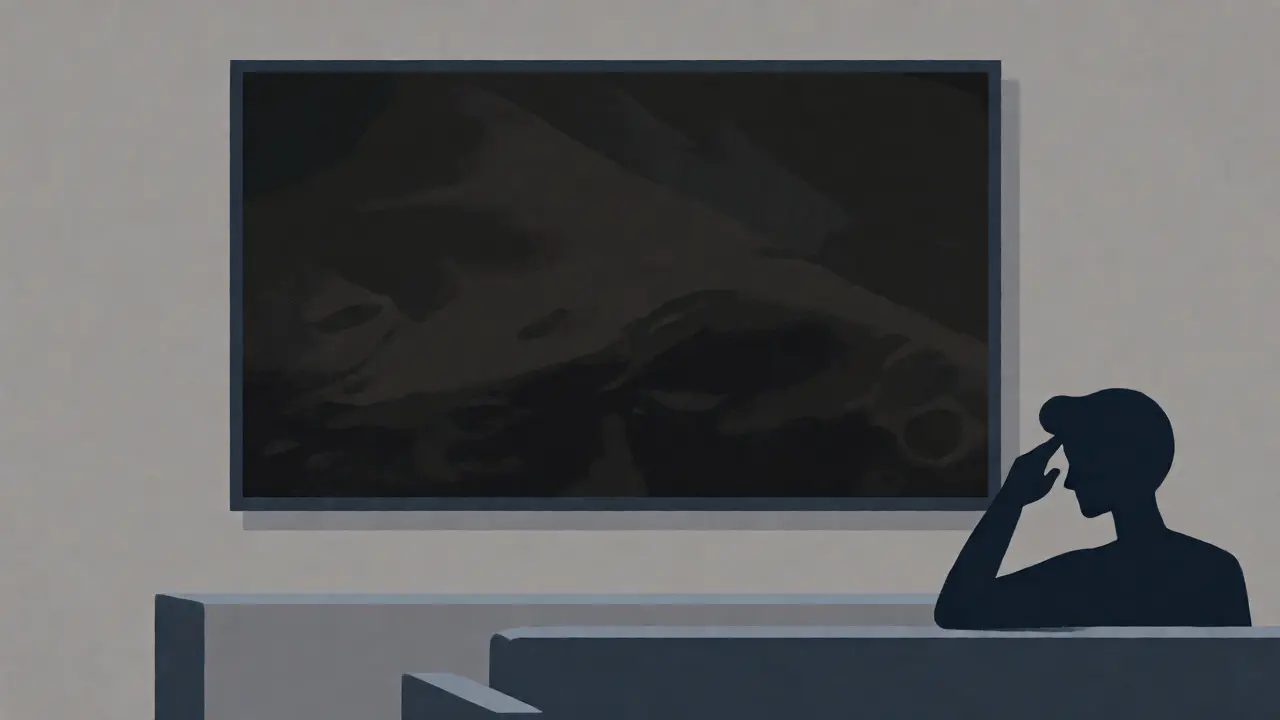
You just bought a fancy new TV or monitor. It promises "true blacks" and "blinding highlights." You queue up a blockbuster movie on Netflix or Disney+, expecting to be blown away by the visuals. Instead, you squint. The screen looks like someone put a smoked glass filter over it. The shadows are muddy, the faces are dim, and the vibrant colors promised in the marketing brochures are nowhere to be found.
This isn't your imagination, and it’s not necessarily a defect in your hardware. It’s a mismatch between what your display can do and what the streaming service is sending. HDR (High Dynamic Range imaging) is a complex standard that requires perfect communication between your source device, your cable, and your screen. When that handshake fails-or when the metadata is misinterpreted-your image gets crushed into darkness.
Why Your Screen Looks Like a Cave
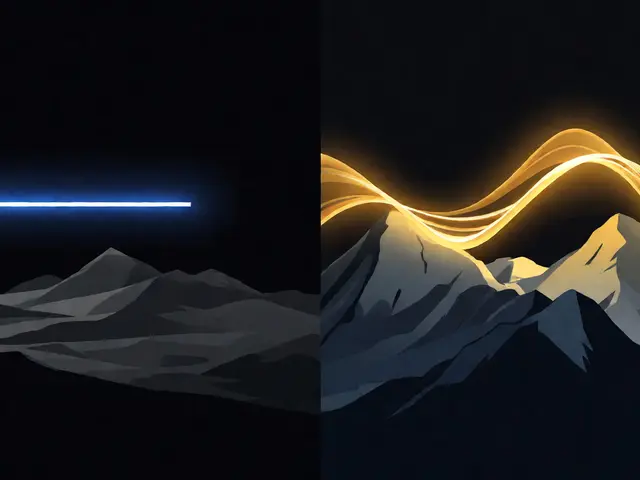
To fix the problem, you have to understand why it exists. Standard Dynamic Range (SDR) content is capped at about 100 nits of brightness. Most modern TVs can hit 500, 1000, or even 2000 nits. HDR allows for much higher peak brightness and deeper contrast. But here is the catch: if your TV thinks it’s displaying HDR content but doesn’t know how bright the scene actually is, it often defaults to a conservative brightness level to avoid blowing out the whites. This results in a dull, grayish picture where everything looks underexposed.
The culprit is usually one of three things: incorrect HDMI settings, poor tone mapping, or a lack of proper metadata from the streaming app. Let's break down how to tackle each one.
Check Your HDMI Port and Cable First
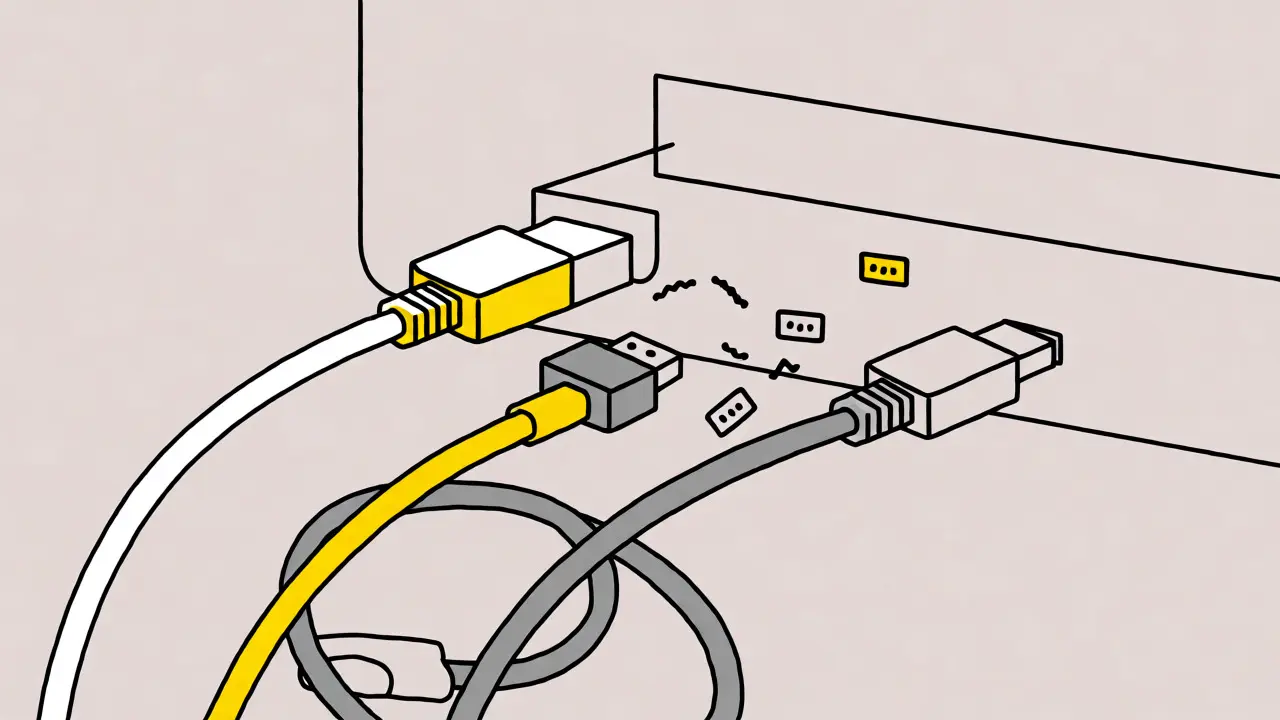
Before you dive into menus, look at the back of your TV. Not all HDMI ports are created equal. Many older or budget-friendly TVs have only one or two ports that support full bandwidth (HDMI 2.1 or eARC). If you plug your Apple TV, Roku Ultra, or Xbox Series X into an HDMI 2.0 port, you might lose HDR capabilities entirely, or worse, get a degraded signal that forces the TV into a fallback mode.
- Certify your cables: Use "Premium High Speed" or "Ultra High Speed" HDMI cables. A generic $5 cable might carry the signal but fail to pass the necessary metadata flags for HDR10+ or Dolby Vision.
- Use the right port: Check your TV manual. Often, only HDMI 1 or HDMI 3 supports eARC and full HDR passthrough. Plug your streamer into the correct port.
- Enable Input Labels: On Samsung TVs, you must go to Settings > General > External Device Manager > Input Signal Plus and turn it ON for the specific HDMI port. On LGs, this is often automatic, but check HDMI ULTRA HD Deep Color settings. If this is off, the TV treats the signal as SDR, ignoring HDR instructions completely.
Mastering Tone Mapping: The Core Fix
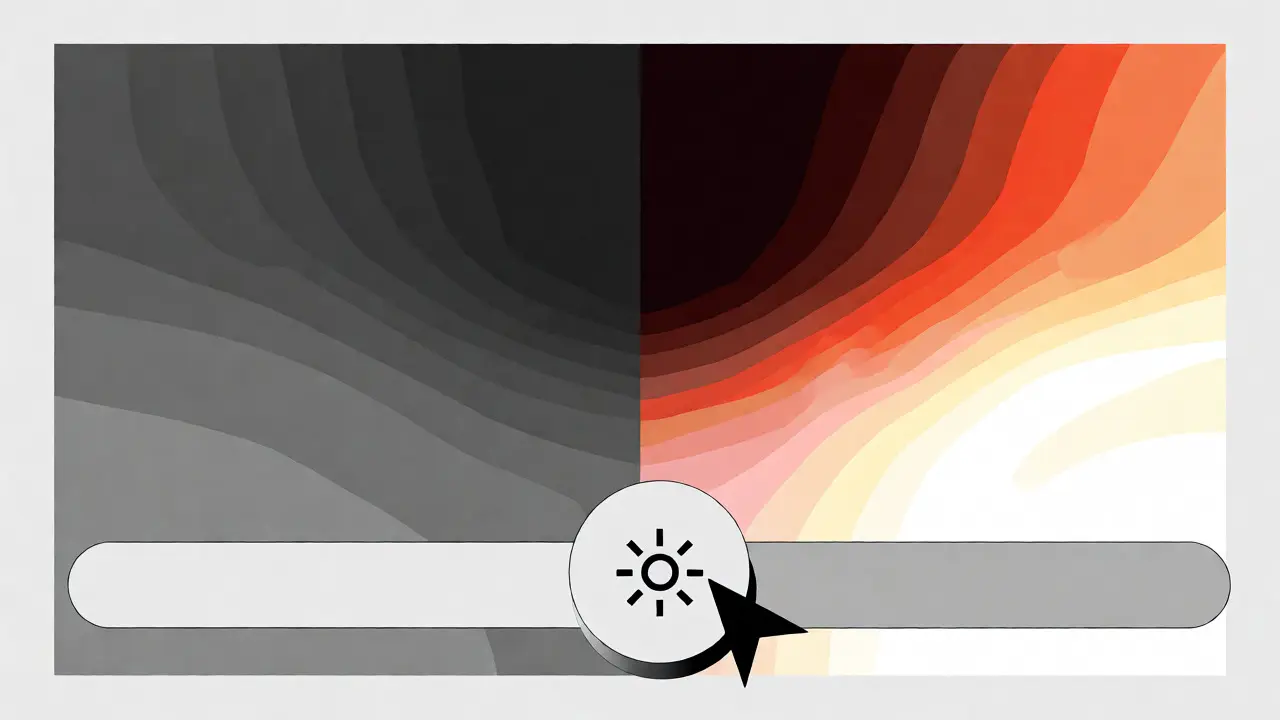
If your connections are solid, the issue is likely Tone Mapping. This is the process your TV uses to compress the high-brightness HDR signal into the maximum brightness your panel can physically produce. If your TV peaks at 600 nits but the movie was mastered at 4000 nits, the TV has to decide how to scale those numbers down. Bad tone mapping crushes shadow detail and makes mid-tones look muddy.
Most people leave their picture settings on "Auto," which is rarely optimal for HDR. Here is how to manually adjust for better visibility:
- Switch Picture Mode: Never use "Vivid" or "Dynamic" for HDR. These modes often disable HDR processing or mess with color accuracy. Stick to "Filmmaker Mode," "Cinema," or "Movie." These modes prioritize accurate gamma curves.
- Adjust Backlight/OLED Light: In HDR mode, your TV usually takes control of the backlight automatically. However, some models allow a slight offset. Try increasing the "Backlight" or "OLED Light" setting by 1-2 steps. Do not max it out; you want to preserve highlight detail, not wash it out.
- Tweak Contrast and Brightness: This is counter-intuitive. In HDR, the "Brightness" slider often controls black levels, while "Contrast" controls peak white. If shadows are too dark, lower the Black Level slightly. If the whole image feels flat, increase Contrast marginally. Use a test pattern from YouTube (search "HDR Test Pattern") to see where details disappear.
Dolby Vision vs. HDR10+: Which One Is Broken?
Not all HDR formats handle darkness the same way. There are two main competitors: Dolby Vision and HDR10+.
Dolby Vision uses dynamic metadata. It tells the TV exactly how to adjust brightness frame-by-frame. If Dolby Vision is working correctly, your image should look punchy and detailed. If it looks dark, the handshake failed, and your TV fell back to basic HDR10 (static metadata), which is less adaptive and often darker on mid-range panels.
HDR10+ also uses dynamic metadata but is open-source. Some TVs handle HDR10+ better than others. If you find Dolby Vision consistently too dark, try forcing your TV or streamer to prefer HDR10+. On many Android TV devices, you can toggle this in Developer Options or via the specific app settings (like on some Sony Bravia models).
| Format | Metadata Type | Common Issue | Quick Fix |
|---|---|---|---|
| HDR10 | Static | Uniformly dark scenes; no per-scene adjustment. | Increase global brightness/backlight. |
| HDR10+ | Dynamic | Inconsistent scaling on non-Samsung/LG devices. | Update firmware; check app compatibility. |
| Dolby Vision | Dynamic | Fallback to HDR10 if handshake fails. | Re-plug HDMI; enable Input Signal Plus. |
Streaming App Specific Quirks
Sometimes the problem isn't your TV-it's the app. Netflix, Disney+, and Amazon Prime Video encode their streams differently. Netflix, for instance, is notorious for its aggressive tone mapping on certain smart TV apps. If Netflix looks dark but YouTube HDR looks great, the issue is software encoding.
Try these workarounds:
- Use an external streamer: Apps built into Smart TVs (Tizen, webOS) are often slower to update and have poorer HDR implementation than dedicated boxes like the Nvidia Shield Pro or Apple TV 4K. These devices offer more granular control over HDR output settings.
- Check Resolution Settings: Sometimes dropping from 4K to 1080p temporarily fixes a buggy HDR handshake. Once the picture looks right, switch back to 4K. This forces the device to renegotiate the HDMI connection.
- Clear Cache: On Android-based TVs, clear the cache for the streaming app. Corrupted data can cause the app to send incorrect color space information.
Advanced: Using Calibration Discs and Patterns
If you are serious about fixing this, stop guessing. Use a calibration disc or a free online resource like the THX Optimizer or Digital Video Essentials patterns available on YouTube. Look for the "Black Crush" and "White Clipping" tests.
Find the darkest square you can still distinguish. That is your black floor. Find the brightest square before it merges into pure white. That is your ceiling. Adjust your TV's Gamma setting (usually found in Expert Settings) until you can see the most detail in the shadows without lifting the blacks to gray. A gamma of 2.2 is standard for SDR, but HDR often benefits from a steeper curve, around 2.4, depending on your room's ambient light.
Ambient Light Matters More Than You Think
HDR looks different in a pitch-black room versus a living room with windows. Most tone mapping algorithms assume a controlled viewing environment. If your room is bright, the reflections on your glossy screen will make dark scenes look milky and washed out, prompting you to crank up the brightness, which then blows out highlights.
Turn off "Ambient Light Sensing" or "Eco Sensor" features. These sensors often reduce backlight brightness to save power, making HDR content look artificially dim during the day. Disable them for movies, or ensure your room lighting is indirect and dimmed.
Final Checklist for Brighter HDR
Running through a quick diagnostic saves hours of frustration. Before you buy a new cable or call tech support, run this list:
- Is the HDMI cable certified for 4K/HDR?
- Is the correct HDMI port enabled for Input Signal Plus/Deep Color?
- Is the Picture Mode set to Movie/Filmmaker, not Vivid?
- Have you disabled Eco/Energy Saving modes?
- Did you try an external streaming device to rule out app bugs?
- Is your TV firmware updated to the latest version?
HDR shouldn't require a degree in electrical engineering to enjoy. By tweaking tone mapping and ensuring your hardware speaks the same language, you can reclaim the deep, rich images your TV promised. Start with the basics, adjust slowly, and trust your eyes over the default settings.
Why does my HDR look darker than SDR?
HDR content is mastered to be viewed on displays capable of much higher peak brightness than SDR. If your TV cannot reach the mastering brightness (e.g., 1000+ nits), it must "tone map" the image downward. Poor tone mapping often compresses the mid-tones and shadows too aggressively, resulting in a darker overall appearance compared to SDR content, which is standardized to lower brightness levels.
Should I turn off HDR on my TV?
Only if you cannot fix the tone mapping issues. Turning off HDR globally forces all content into SDR, which eliminates the darkness issue but also removes the expanded color gamut and contrast range. For most users, adjusting picture settings (specifically Black Level and Gamma) yields better results than disabling HDR entirely.
Does HDMI 2.1 matter for HDR brightness?
HDMI 2.1 itself doesn't change brightness, but it enables higher bandwidth features like Variable Refresh Rate (VRR) and Auto Low Latency Mode (ALLM). More importantly, it ensures stable transmission of high-bandwidth HDR formats like Dolby Vision IQ. While HDMI 2.0 can carry HDR10, using HDMI 2.1 ports and cables reduces the risk of handshake failures that lead to fallback modes causing dark screens.
How do I fix dark shadows on Netflix specifically?
Netflix sometimes applies aggressive tone mapping on specific TV brands. Go to your TV's expert settings and slightly increase the "Black Level" or "Brightness" (which often controls black lift in HDR modes). Also, ensure your Netflix app is updated. If possible, cast from a phone or use an external streaming stick, as the native Netflix app on some Smart TVs has known HDR rendering bugs.
What is Dolby Vision IQ?
Dolby Vision IQ is a feature that adjusts HDR content based on ambient light conditions in your room. It uses a sensor to detect how bright your room is and tweaks the tone mapping accordingly. If your screen looks too dark, Dolby Vision IQ might be lowering brightness because it detects sufficient ambient light. You can often disable this feature in your TV's settings to maintain consistent HDR performance regardless of room lighting.