7
Grip and Electric Basics: Mastering Flags, C-Stands, and Cable Safety
Quick Setup Guide: The G&E Essentials
- C-Stands: The Swiss Army knife of the set. Used for holding everything from flags to monitors.
- Flags: Opaque fabrics used to block light or create shadows.
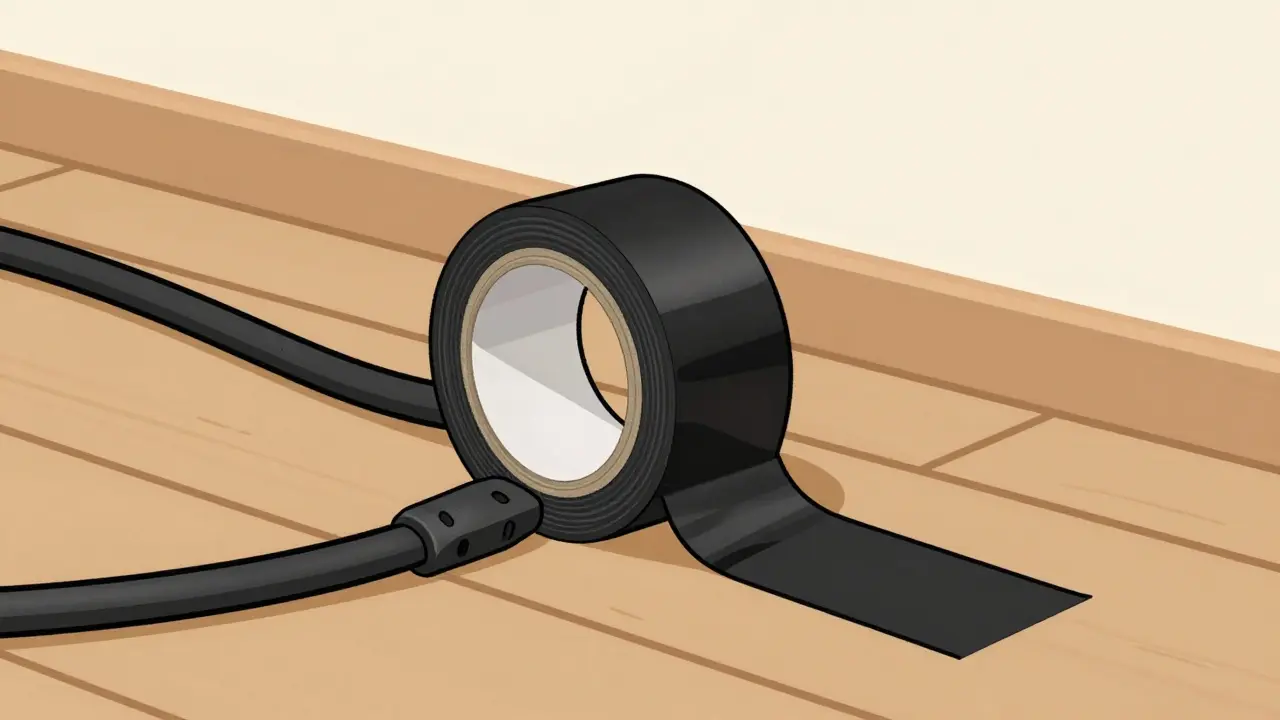
- Cable Management: Using gaffer tape and cable protectors to prevent trip hazards.
- Sandbags: Heavy weights used to stabilize stands (non-negotiable for safety).
The Heavy Lifter: Mastering the C-Stand
If you've ever stepped onto a professional set, you've seen the C-Stand is a century stand made of stainless steel, designed to hold lighting modifiers and grip gear with high stability. It's called a "C-Stand" because of the C-shaped grip handle at the top. While they look simple, using one wrong can lead to a disaster.
The most important rule of the C-Stand is the "right-hand rule." Always tighten the knuckles so that the grip handle is to the right of the stand's column. Why? Because if the gear slips, it will naturally rotate away from the stand rather than crashing into it. If you're mounting a heavy Grip Head (the sliding clamp that holds the gear), make sure the weight is balanced. If the gear is leaning too far forward, the whole thing becomes a tipping hazard.
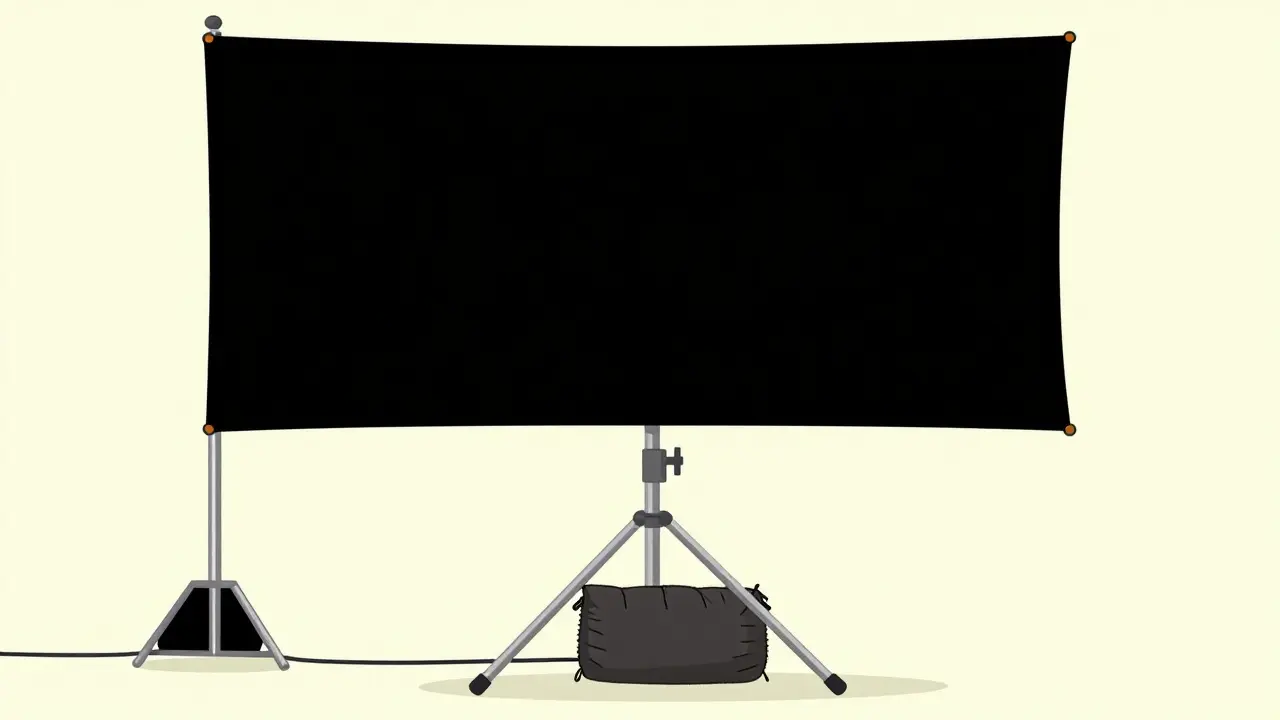
Let's talk about legs. Never leave a stand with its legs wide open and unattended. Always "sandbag the big leg." The big leg is the one pointing toward the weight of the gear. By placing a Sandbag (usually filled with 15-20 lbs of sand) over that leg, you lower the center of gravity and prevent the stand from tipping over if someone bumps into it. It's a simple move that saves equipment and people.
Controlling the Light with Flags and Nets
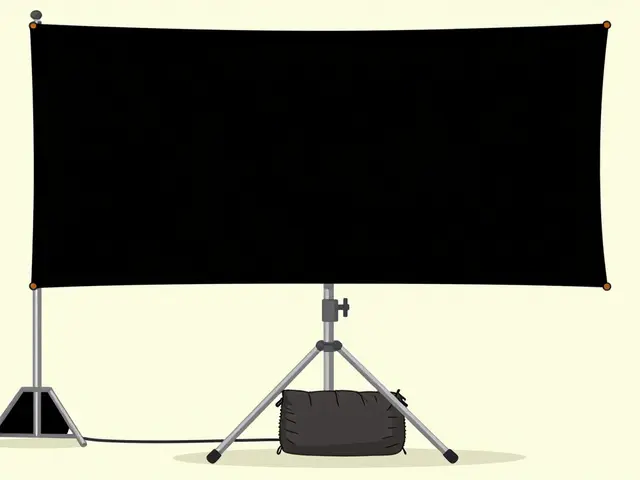
Lighting isn't just about what you add; it's about what you take away. This is where Flags come in. A flag is essentially a rectangular frame with a piece of opaque black fabric stretched over it. They are used for "negative fill"-blocking light from hitting a specific part of the actor's face or preventing a reflection in a window.
You'll often hear the term "cutter." When you use a flag to create a sharp line between light and shadow, you're "cutting" the light. For example, if you have a bright key light but it's creating a distracting glare on a tabletop, you slide a flag in front of the light source to block just that specific area. It's a precision tool for shaping the mood of a scene.
Beyond solid flags, there are "nets." Unlike flags, which block light entirely, nets are semi-transparent fabrics that reduce the intensity of the light by a specific percentage (like 1/4 or 1/2 stop). If your light is just a bit too bright but you still want the light to hit the subject, a net is your best friend. It's much faster than dialing down the dimmer on a heavy-duty light.
| Tool | Primary Function | Common Use Case | Critical Safety Tip |
|---|---|---|---|
| C-Stand | Structural Support | Holding a flag or LED panel | Always sandbag the big leg |
| Solid Flag | Blocking Light | Removing glare from a mirror | Secure the grip head tightly |
| Net / Scrim | Reducing Intensity | Softening a harsh sunlight beam | Ensure the stand is leveled |
| Sandbag | Stabilization | Preventing stands from tipping | Check for leaks/tears in the bag |

Electric Basics and Cable Safety
Power is the lifeblood of the set, but it's also the most dangerous part. When you're dealing with Stinger (the industry term for a heavy-duty extension cord), you're dealing with potential fire hazards and trip-and-fall lawsuits. The golden rule of electrics is: never run a cable across a walkway without securing it.
Enter the Gaffer Tape. This is the high-strength, cloth-backed adhesive tape used everywhere in film. When running a cable across a floor, you don't just tape the ends; you tape the entire length if possible, or use a rubber cable ramp. If a cable is just "laying there," it's a tripwire. A distracted actor or a rushing PA (Production Assistant) will eventually catch their foot on it, and they'll take the light fixture down with them.
Another critical safety point is "overloading." It's tempting to plug five high-wattage lights into one power strip, but that's a recipe for a blown fuse or a melted cable. Always calculate your total wattage. If you're using a 120V circuit, you generally want to keep your load below 80% of the circuit's capacity to avoid overheating. If the cable feels hot to the touch, you've gone too far. Unplug immediately.
The Art of the "Over-the-Shoulder" Cable Wrap
Ever wonder why pros wrap cables in a specific way? If you wrap a cable around your elbow (the "over-under" method), you prevent the internal wires from twisting. If you just coil a cable in a messy circle, you create kinks. Over time, those kinks break the copper filaments inside, leading to intermittent power failures-the kind that happen right in the middle of your most expensive shot.
When deploying cables, avoid "daisy-chaining" (plugging one extension cord into another) for long distances if you can help it. Each connection point is a potential point of failure and a source of voltage drop. If you need power 100 feet away, use a single 100-foot stinger rather than four 25-foot ones. It's cleaner, safer, and more reliable.
Avoiding Common Beginner Mistakes
One of the most common errors is ignoring the "head-room" of a stand. Beginners often extend a C-Stand to its maximum height, which makes it incredibly unstable. Unless absolutely necessary, keep the stand as low as possible. If you need the light higher, use a Combo Stand, which has a wider base and a higher weight capacity.
Then there's the "loose knuckle." When you tighten a grip head, don't just give it a quick twist. Give it a firm lock. The weight of a flag can cause a loose head to slowly sag over time. You might set your shot perfectly, but by the time the camera rolls, your flag has drifted six inches, and you're suddenly getting light leak in your shadows. Check your knots and clamps every time you move the camera.
Lastly, never forget to check the "feet" of your gear. On uneven ground or grass, a stand can lean. Use a leveling base or simply dig a small hole for the leg to sit in. A leaning stand is a falling stand. No matter how light the piece of gear is, gravity doesn't take a break on set.
What is the difference between a C-Stand and a light stand?
A standard light stand is usually designed just to hold a light and its modifiers. A C-Stand is much more versatile and rugged, featuring a grip head and a grip arm that allows you to hang flags, nets, or other gear away from the main column. C-Stands are generally heavier and more stable, making them the industry standard for grip work.
Why is gaffer tape preferred over duct tape on set?
Gaffer tape has a strong adhesive but leaves little to no residue when removed, unlike duct tape which leaves a sticky mess. It's also matte, meaning it won't reflect light and cause unwanted glints in your shot. It's designed specifically for the high-stress environment of a film set.
How do I know if a circuit is overloaded?
The most obvious sign is a tripped circuit breaker. However, you can spot danger earlier if the cables feel warm to the touch or if you notice lights flickering. To prevent this, add up the total wattage of all plugged-in devices; if it exceeds 80% of your circuit's rated capacity (e.g., 15 amps x 120V = 1800W), you are in the danger zone.
Can I use sandbags for everything?
Yes, and you should. Any stand holding a piece of gear-whether it's a small LED or a massive softbox-should be weighted. This is especially critical when using flags, as they act like sails and can be knocked over by a slight breeze or a passing crew member.
What is the safest way to wrap a cable?
The "over-under" wrap is the professional standard. By alternating the direction of the loop, you neutralize the tension in the cable. When you pull the cable straight to deploy it, it will unroll smoothly without any twists or "kinks" that could damage the internal copper wiring.
Next Steps for New Grips
If you're just starting out, the best way to learn is by doing. Start by practicing the "over-under" wrap at home with any long cable you have. Once you've mastered that, try setting up a basic three-point lighting rig using a C-Stand and a flag. Focus on the "right-hand rule" and sandbagging until it becomes second nature.
For those moving into larger productions, consider investing in a basic grip kit or renting from a reputable house. Always double-check your gear for wear and tear-frayed cables or loose C-stand knuckles are not just inconveniences; they are safety risks. When in doubt, ask the Key Grip or the Gaffer to check your work. In the world of G&E, it's much better to be questioned about a sandbag than to explain why a light fell on a lead actor.