How to Use Video Effects for Better Videos
Ever watched a video and thought, "That transition was awesome"? You can create those moments yourself without spending hours in a studio. Below are straight‑forward ways to add video effects that lift your footage, whether you’re just starting out or already comfortable with editing software.
Basic Effects Every Editor Should Know
First, think about the problem you want to solve. Is the clip too dark? A simple color‑grade or exposure tweak can make it pop. Most editors – from free tools to paid suites – have a built‑in brightness/contrast slider. Drag it a little, watch the preview, and stop when the image looks natural.
Next, try a fade‑in/fade‑out. It’s the classic way to signal the start or end of a scene. Place a one‑second fade at the clip’s edge, and you’ll give viewers a visual cue that something is changing. It feels professional and costs nothing time‑wise.
Another beginner‑friendly effect is the speed change. Slow‑motion highlights important moments, while a quick‑cut accelerates boring parts. Most programs let you drag a speed handle or type a percentage. Remember: keep it under two seconds for a smooth look; longer stretches may look jerky.
Finally, add a text overlay. Whether it’s a title card or a lower‑third, a clean font on a semi‑transparent background works best. Keep the text short, use a readable size, and match the video’s color scheme. This tiny detail can turn a raw clip into a polished piece.
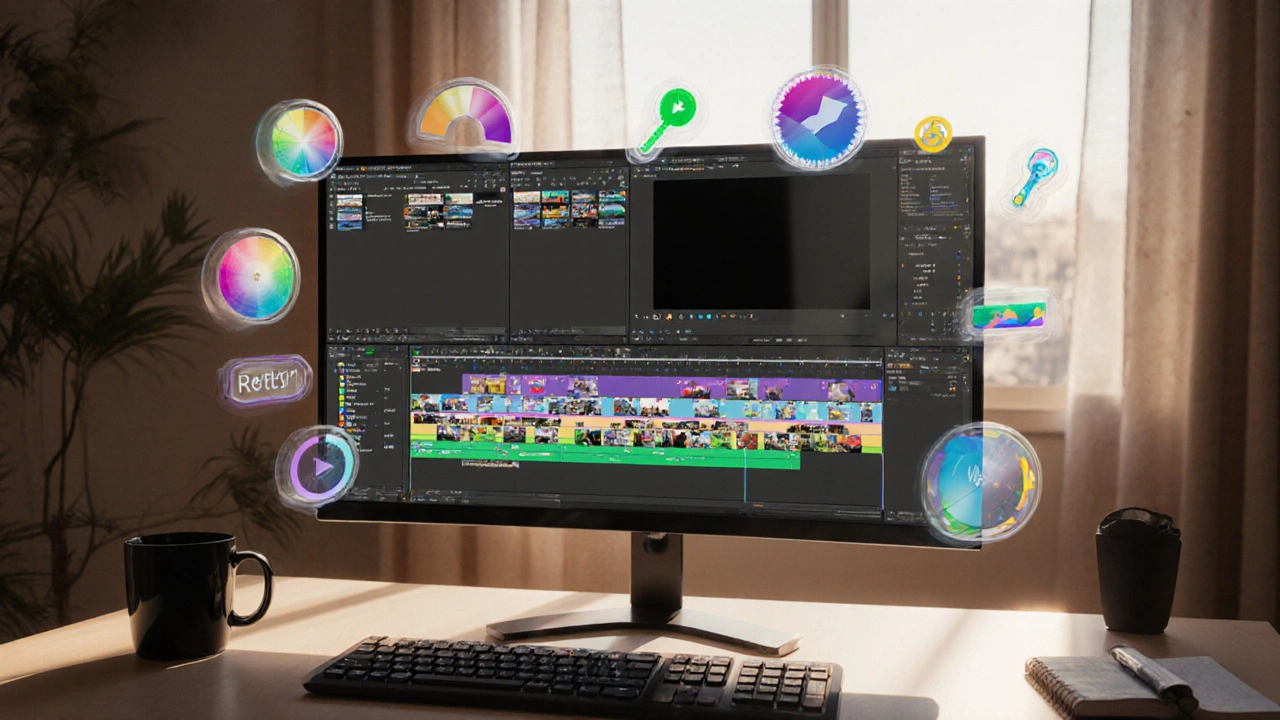
Advanced Tricks to Make Your Videos Pop
When you’re ready for more, experiment with keyframe animation. Keyframes let you move, scale, or rotate an element over time. For example, you can zoom into a subject while the background stays still, creating a dynamic focus shift. Set a keyframe at the start, another at the end, and let the software fill in the motion.
Another powerful tool is green screen (chroma key). Shoot your subject against a solid green backdrop, then replace that color with any image or video. The effect makes it look like you’re standing in front of a city skyline, a game screen, or a dreamy landscape. Most editors have a “chroma key” filter; just adjust tolerance and edge‑smoothness until the green disappears cleanly.
Don’t overlook masking and blending modes. Masks let you apply an effect to only part of the frame – say, a spotlight on a speaker while the background stays normal. Blending modes such as “Add” or “Multiply” change how layers interact, giving you creative looks like glowing text or vintage film grain.
Finally, consider a motion graphics preset. Many platforms offer ready‑made lower‑thirds, transitions, and intros. Import the preset, replace the placeholder text or logo, and you have a professional‑grade graphic in seconds. Look for presets that match your video’s style – clean and minimal for tech content, bold and colorful for lifestyle clips.
Practice is the real secret. Pick one effect, apply it to a short clip, and watch how the story changes. As you get comfortable, layer multiple effects – a quick cut, a fade, a text overlay, and a subtle color grade – to craft a cohesive look. Keep your audience in mind: effects should enhance the message, not distract from it.
Ready to try? Open your favorite editor, import a test video, and follow the steps above. Within a few minutes you’ll see how simple effects transform raw footage into something viewers want to watch again. Happy editing!
1
Mastering Video Editing Effects: A Practical Guide for Creators
Learn the essential video editing effects, how to apply them in popular software, and expert tips to avoid common mistakes. A practical guide for creators seeking polished, engaging videos.