Video Effects Tutorial: Quick, Easy Ways to Level Up Your Footage
Want your videos to look sharper, more exciting, and a bit magical? You don’t need a huge budget or a film school diploma. Most video editors have a toolbox of built‑in effects that can transform a plain clip into something that grabs attention. In this tutorial we’ll walk through the most useful effects, how to apply them, and a few shortcuts that save you time.
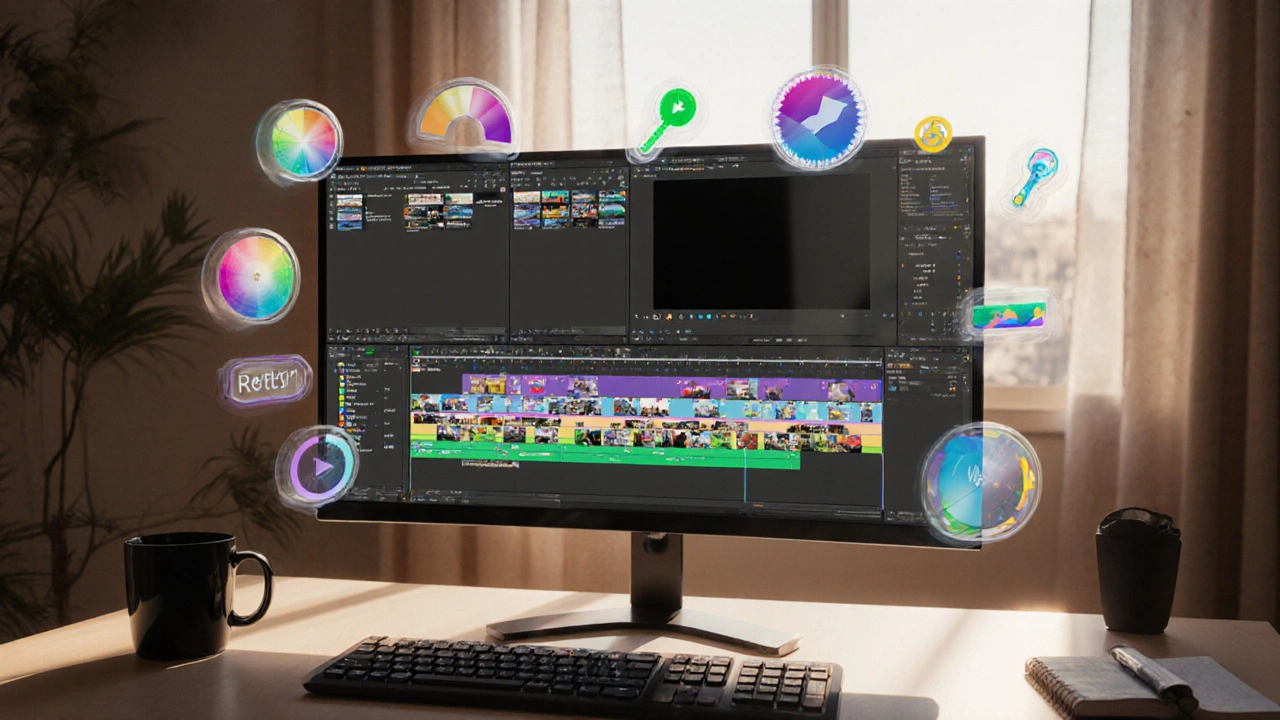
First, open your favorite editing program – whether it’s Adobe Premiere, DaVinci Resolve, or a free app like HitFilm Express. Load the clip you want to enhance and place it on the timeline. Most effects live in a panel called “Effects” or “Video Effects.” Drag the effect onto the clip, and you’ll see a preview instantly. That’s the basic workflow, and you’ll use it for every trick we cover.
Basic Effects You Can Master Today
Fade In / Fade Out – A simple fade smooths the start or end of a video. Set the opacity keyframe at 0% at the very first frame, then add another keyframe a second later at 100%. The same works backwards for a fade‑out. This tiny move makes cuts feel professional.
Color Correction – Adjusting brightness, contrast, and saturation can make dull footage pop. Use the “Lumetri Color” panel or the “Color Wheels” in Resolve. Raise the contrast a little, bump the saturation, and you’ll see more detail without any external plugins.
Speed Ramp – Changing speed mid‑clip adds drama. Cut the clip where you want the change, right‑click and choose “Speed/Duration.” Set the first part to normal speed, the second part to 200% or 50%, and add a smooth transition with the “Rate Stretch” tool. This effect works great for sports highlights or quick product demos.
Stabilization – Shaky handheld footage can be tamed with a one‑click stabilizer. In Premiere, go to “Effect Controls” → “Warp Stabilizer.” Let the software analyze and the result is a steadier shot in seconds.
Advanced Tricks for Pro‑Level Looks
Masking & Layering – Want to isolate a subject and add a different background? Duplicate the clip, apply a mask around the subject, then place a new video or image on the layer below. Feather the mask edges for a natural blend.
Motion Graphics Presets – Programs like After Effects include ready‑made lower thirds, titles, and transitions. Drag a preset onto your timeline, then tweak the text and colors. You get a polished look without designing from scratch.
Keyframe Animation – Control any property over time by adding keyframes. For example, animate the opacity of a graphic from 0% to 100% over two seconds, or rotate a clip gradually to create a dynamic spin.
Green Screen (Chroma Key) – Shoot your subject against a solid green backdrop, then apply a “Keying” effect. Adjust the tolerance and edge settings, and replace the background with anything – a cityscape, a product shot, or a simple color.
Remember, the best effect is the one that serves your story. Too many filters can distract viewers, so pick one or two that enhance the message. Test each effect on a short segment before applying it to the whole video. This way you keep the workflow fast and avoid re‑rendering mistakes.
When you finish, export using a bitrate that matches your platform – 1080p at 8‑10 Mbps for YouTube, lower for social media. Double‑check that the final file plays smoothly on a phone, tablet, and desktop. If it looks good everywhere, you’ve nailed the tutorial.
Ready to try these tricks? Open your editor, load a clip, and start experimenting. Within a few minutes you’ll see a noticeable upgrade, and you’ll have a solid foundation for more complex effects down the road.
1
Mastering Video Editing Effects: A Practical Guide for Creators
Learn the essential video editing effects, how to apply them in popular software, and expert tips to avoid common mistakes. A practical guide for creators seeking polished, engaging videos.