22
Calibrate Sound for Streaming: Room Correction and EQ Basics
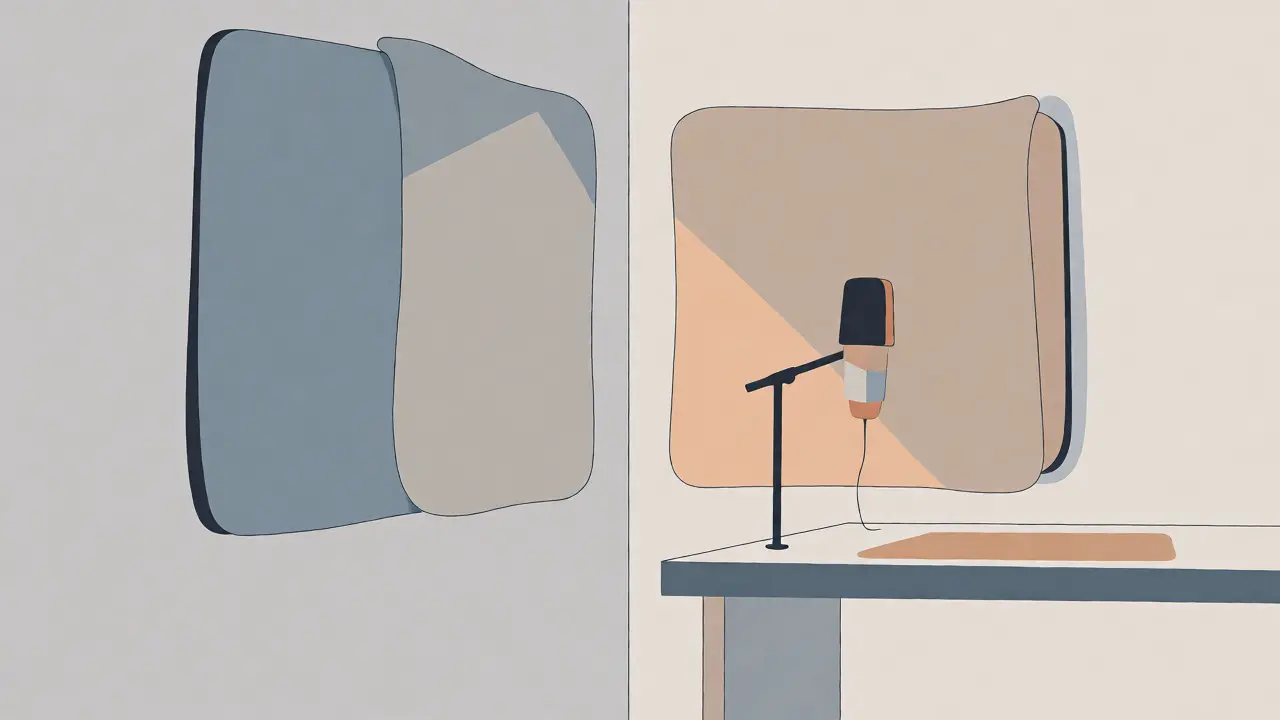
You’ve spent hours perfecting your video quality, lighting, and camera angles. But if your audio sounds like you’re broadcasting from inside a cardboard box or a echoing bathroom, viewers are hitting the skip button before you even say hello. Audio is half the experience in streaming, and unlike video, bad sound is unforgiving. The difference between amateur and pro often comes down to how well you manage your room’s acoustics and your microphone’s frequency response.
Most streamers think buying an expensive microphone solves everything. It doesn’t. A $500 mic placed in a bare-walled room will still sound hollow and boomy. Why? Because sound waves bounce off walls, floors, and ceilings, interfering with each other and creating peaks and dips in your voice. This article breaks down how to fix that without spending thousands on professional studio construction. We’ll cover basic acoustic treatments, how to use software-based room correction, and simple EQ tricks to make your voice cut through the mix.
Why Your Room Sounds Bad (And How to Fix It Cheaply)
Before touching any knobs, you need to understand what’s happening physically. When you speak, sound travels directly to your microphone, but it also bounces off nearby surfaces. These reflections arrive milliseconds later than the direct sound. If they hit the mic at the wrong time, they cancel out certain frequencies (making you sound thin) or boost others (making you sound muddy).
This phenomenon is called comb filtering. It’s the main reason why two identical microphones can sound completely different in two different rooms. You don’t need to be an acoustic engineer to spot this. Just clap loudly near a wall and listen for a metallic "ping" or ringing tail. That’s a reflection. In a treated room, the clap should sound dry and short.
The quickest fixes involve placement and absorption:
- Move away from corners: Corners act as bass traps by accident, boosting low frequencies excessively. Pull your desk out at least 1-2 feet from the back wall.
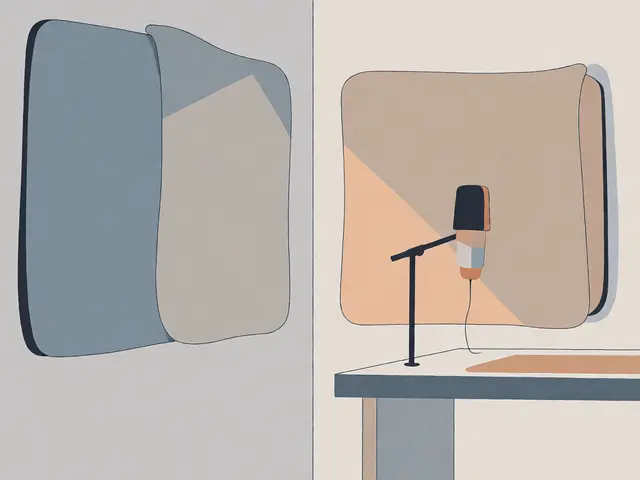
- Add soft materials: Hang a heavy blanket, duvet, or dedicated acoustic panel behind your head. This stops sound from bouncing off the wall behind you and returning to the mic.
- Break up flat surfaces: Bookshelves filled with books, curtains, and rugs help scatter high-frequency reflections. Hard, flat glass windows are your enemy; cover them with thick curtains.
If you can’t treat the room structurally, get closer to the microphone. Increasing the distance between your mouth and the mic allows more room noise and reflections to enter the signal path. Aim for 4-6 inches from the mic. This boosts your direct voice relative to the room’s echo, a principle known as the inverse square law.
Understanding Equalization for Voice Clarity
Once your physical space is optimized, you move to digital cleanup. Equalization (EQ) adjusts the volume of specific frequency ranges. For streaming, the goal isn’t to make your voice sound "perfect" in isolation, but to make it intelligible and pleasant over compressed internet streams.
Here is a practical starting point for most male and female voices using dynamic or condenser mics:
| Frequency Range | Action | Reason |
|---|---|---|
| Below 80 Hz | Cut (High-Pass Filter) | Removes rumble, HVAC noise, and handling bumps. |
| 100-300 Hz | Slight Cut (-2 to -4 dB) | Reduces "mud" or boominess caused by room resonance. |
| 2-4 kHz | Boost (+1 to +3 dB) | Adds presence and clarity so words stand out. |
| Above 10 kHz | Gentle Boost or Leave Flat | Adds "air" and sparkle, but beware of sibilance (harsh 's' sounds). |
Don’t go crazy with cuts. If you cut too much low end, your voice sounds tinny. If you boost too much mid-range, it sounds harsh and fatiguing. Use a parametric EQ plugin in your streaming software (like OBS Studio’s VST filters or Streamlabs’ built-in tools). Start with small adjustments-no more than 3 dB at a time-and listen critically.
A common mistake is boosting frequencies to compensate for poor recording conditions. If your room is boomy, don’t just cut the bass endlessly. Treat the room first. Digital EQ cannot remove reverb tails; it only changes the tonal balance. If you hear an echo, no amount of EQ will fix it.

Software-Based Room Correction Tools
What if you can’t add foam panels or move your desk? Enter software-based room correction. These tools analyze your room’s response and apply corrective filters automatically. They aren’t magic, but they are surprisingly effective for untreated home offices.
Two popular options for streamers include:
- Dirac Live: Originally designed for hi-fi audio, Dirac now offers a version for content creation. It uses a measurement microphone to map your room and correct phase issues, not just frequency response. This means it tightens up the timing of reflections, making speech clearer.
- Sonarworks Reference: Widely used in music production, Sonarworks flattens the frequency response of your headphones or speakers. While primarily for monitoring, its headphone profiles ensure you’re hearing an accurate representation of your mix, preventing you from over-EQing based on biased earbuds.
To use these tools properly, you need a measurement microphone. The Behringer ECM8000 is a budget-friendly omnidirectional measurement microphone widely used for room calibration. It costs under $100 and provides flat response data needed for accurate analysis.
The process involves placing the measurement mic at your listening position (where your ears are), playing pink noise sweeps, and letting the software calculate corrections. Keep in mind: these tools work best when applied to your output monitors/headphones, not necessarily your input mic chain, though some advanced setups allow bidirectional correction.
Microphone Selection and Polar Patterns
Your hardware choice dictates how much room noise gets captured. Dynamic microphones reject background noise better than condensers because they require higher sound pressure levels to activate. This makes them ideal for untreated rooms.
Consider these attributes when choosing gear:
| Feature | Dynamic Mic | Condenser Mic |
|---|---|---|
| Noise Rejection | Excellent | Poor (picks up keyboard clicks, AC hum) |
| Detail/Clarity | Moderate | High |
| Room Requirement | Forgiving | Requires treated room |
| Example Model | Shure SM7B, Rode PodMic | Audio-Technica AT2020, Blue Yeti |
Polar patterns matter too. Cardioid mics pick up sound from the front and reject it from the rear. This helps isolate your voice from computer fans or room echoes behind you. Hypercardioid mics offer even tighter rejection but require precise aiming. Avoid omnidirectional mics unless you are in a perfectly silent, treated environment.
Placement tip: Angle the mic slightly off-axis (not directly in line with your mouth) to reduce plosives (the "P" and "B" pops). This also minimizes the pickup of breath noises. Always use a pop filter-it’s cheap insurance against distorted transients.
Compressor and Limiter Settings for Consistency
After EQ, dynamics processing ensures your volume stays consistent. Viewers hate turning their volume up during quiet moments and down during loud ones. Compression reduces the dynamic range, bringing loud parts down and quiet parts up.
For streaming, aim for gentle compression. Heavy compression crushes the natural feel of your voice and amplifies background noise. Here’s a safe starting configuration for a compressor plugin:
- Threshold: Set so that the meter shows 3-6 dB of gain reduction during normal speech.
- Ratio: 2:1 to 4:1. Higher ratios sound unnatural for spoken word.
- Attack: 5-10 ms. Fast enough to catch spikes, slow enough to let consonants punch through.
- Release: 50-100 ms. Adjust until the gain reduction needle returns to zero naturally between sentences.
Follow compression with a limiter. A limiter prevents sudden peaks from clipping your audio stream. Set the ceiling to -1.0 dBFS to account for encoding losses in platforms like Twitch or YouTube. Never let your audio hit 0 dB; digital clipping sounds horrible and irreversible.
Testing and Monitoring Your Setup
You can’t trust your own ears alone, especially if you’ve been adjusting settings for hours. Ear fatigue leads to bad decisions. Instead, test objectively.
Record a 30-second sample of yourself talking normally, then ask a friend to review it on their phone speakers, laptop, and headphones. Ask them specifically: "Can you understand every word? Does it sound distant? Is there a hum?"
Use spectrum analyzer plugins to visualize your audio. Look for unwanted spikes at 60Hz (electrical hum) or 120Hz (harmonics). If you see a sharp spike at 50Hz or 60Hz, apply a narrow notch filter to remove it. Be careful not to create a "phasey" sound by cutting too many narrow bands.
Finally, remember that less is more. The best audio setup is one where the viewer forgets they are listening to a microphone. Focus on clarity, consistency, and comfort. Once you have a baseline, tweak slowly. One change at a time. Document your settings so you can revert if something sounds worse.
Do I need acoustic foam for good streaming audio?
Not strictly necessary, but highly recommended. Acoustic foam absorbs mid-to-high frequency reflections, reducing echo and improving clarity. However, simple household items like thick blankets, curtains, and carpets can achieve similar results at a fraction of the cost. The key is breaking up hard, reflective surfaces around your microphone.
What is the best EQ setting for my voice?
There is no single "best" setting because every voice and room is unique. Generally, applying a high-pass filter below 80Hz removes rumble, a slight cut around 200-300Hz reduces mud, and a small boost around 3kHz adds presence. Always adjust by ear and compare with reference recordings of professional streamers.
Should I use a dynamic or condenser microphone?
If your room is untreated and noisy, choose a dynamic microphone (e.g., Shure SM7B, Rode PodMic). They reject background noise better. If you have a quiet, treated space, a condenser microphone (e.g., Audio-Technica AT2020) captures more detail and nuance. Most beginners benefit more from the forgiving nature of dynamic mics.
How does room correction software work?
Room correction software plays test tones through your speakers while a measurement microphone records the response. It analyzes delays and frequency peaks/dips caused by room boundaries. Then, it applies inverse filters to flatten the response and align timing. Tools like Dirac Live or Sonarworks are popular examples.
Why does my voice sound distant even after EQ?
This usually indicates excessive room reverb or incorrect microphone placement. Move closer to the microphone (4-6 inches) to increase the direct-to-reverberant sound ratio. Also, check if you are picking up reflections from the wall behind you; adding absorption there can significantly tighten the sound.